To remove a kitchen, start by disconnecting the plumbing and covering areas to protect them from damage. Remove the countertops, and then the cabinets. Take out the sink and flooring, then dispose of debris responsibly. Clean and inspect the area before installing new elements.
If you want to know more details about kitchen removal, read our guide below.
How to Remove Kitchen Countertops
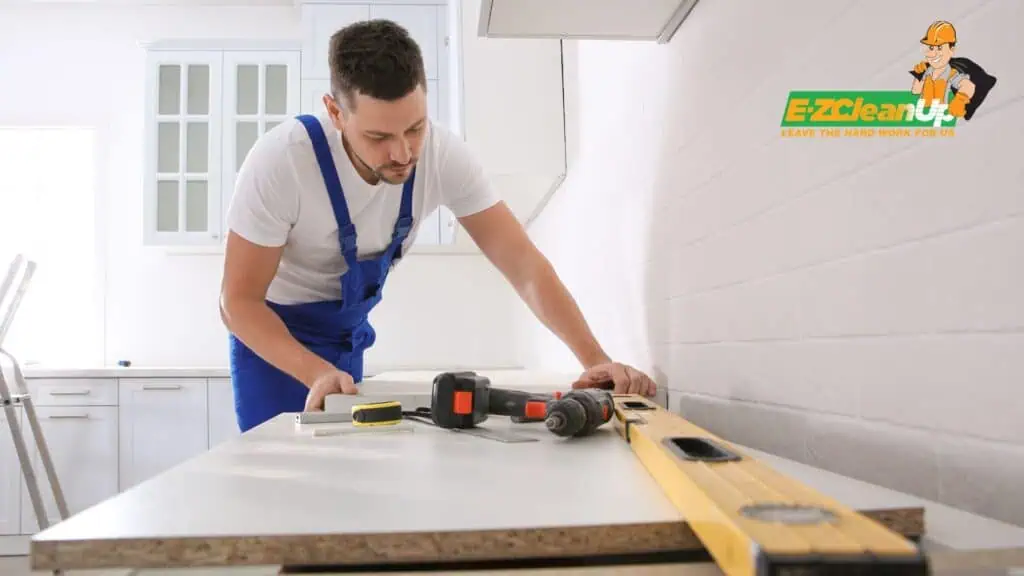
Removing kitchen countertops is a detailed process that requires careful preparation to ensure that the materials are not damaged and that the surrounding area remains intact. Here is a detailed step-by-step guide to help you successfully remove your kitchen countertops:
Preparation
- Clear the Countertop: Remove all items from your countertop and from the cabinets below. This includes small appliances, utensils, and any stored items.
- Protect Surrounding Areas: Cover your kitchen floor, cabinets, and any nearby appliances with drop cloths or cardboard to protect them from debris or damage during the removal process.
- Disconnect Plumbing and Appliances: If your countertop has a sink, begin by turning off the water supply. Disconnect any plumbing, including the water lines and drain pipes under the sink.
Removing the Countertop
- Loosen Caulk and Adhesive: Use a utility knife to cut through the caulk around the edges of the countertop where it meets the backsplash, walls, or other surfaces.
- Remove Screws or Brackets: From inside the cabinets, check for any screws or brackets that might be holding the countertop to the base cabinets. Use a screwdriver or a drill to remove these fasteners.
- Pry the Countertop Loose: Insert a pry bar or a putty knife under the edge of the countertop. Carefully start prying the countertop up. It is advisable to start at one corner and gradually work your way along the edge.
- Lift and Remove the Countertop: Once the countertop is loose, you’ll need assistance to lift it off the cabinets.
Post-Removal
- Inspect and Clean the Area: After removing the countertop, inspect the base cabinets and the wall for any damage. Vacuum and clean the area to remove any debris or remaining adhesive before installing a new countertop.
- Disposal or Reuse: Decide whether you will dispose of the old countertop or reuse it.
Removing Kitchen Cabinets
To remove upper kitchen cabinets, first ensure all items are removed from inside the cabinets. Begin by gently cutting through any caulk around the edges of the cabinets using a utility knife.
This helps loosen the attachment to the wall. It makes them easier to detach without causing damage. Next, locate and unscrew the fasteners inside the cabinets that secure them to the wall. Use a screwdriver or a power drill for this task.
Follow with Lower Cabinets: Detach from Adjoining Fixtures
Once the upper cabinets are removed, focus on the lower units. Check the base cabinets for any screws that attach them to the wall or to adjacent cabinets. These will need to be unscrewed carefully.
Pay particular attention to ensuring that all plumbing or wiring is connected to the cabinets when doing kitchen demolition. These include under-sink plumbing or built-in appliances that are safely disconnected before moving the cabinets.
Label Parts and Doors for Reuse or Donation
If you plan to reuse or donate the cabinets, label each part and door as you remove them. This simplifies reassembly or helps the next owner understand how to put the cabinets back together.
Detailed Steps to Remove a Kitchen Sink
Step 1: Prepare the Workspace
Before you begin the removal process, ensure your workspace is safe and clean. Clear all items from the countertop and sink area to prevent any damage. Place a large bucket under the sink to catch any water that might spill during the disconnection process.
Step 2: Shut Off the Water Supply
Locate the shut-off valves under the sink for both the hot and cold water supplies. Turn these valves clockwise to close them completely. This action will stop the flow of water to your sink and prevent any accidental spillage during removal. Once the valves are shut off, turn on the sink faucet to drain any remaining water from the pipes.
Step 3: Disconnect Plumbing Connections
Using an adjustable wrench, disconnect the water supply lines from the shut-off valves. Be prepared for a small amount of water to leak out, so keep your bucket handy.
Next, detach the drain pipe from the sink. This might involve unscrewing a P-trap or removing a flexible pipe connector. Handle these components carefully to avoid any damage.
Step 4: Remove Mounting Hardware
Examine the underside of the sink to identify any clips, screws, or brackets that hold the sink to the countertop. Using a screwdriver or a wrench, loosen and remove these fasteners.
Some sinks may also be glued down with a strong adhesive or silicone; in such cases, a putty knife will be required to cut through the sealant around the sink edges.
Step 5: Cut Through Caulking
With the hardware removed, use a utility knife to carefully slice through any caulking or sealant between the sink and the countertop. Make sure to cut deeply enough to separate the sink from the countertop without damaging the surface of the counter.
Step 6: Lift the Sink Out
Once all connections and caulking are removed, gently lift the sink from the countertop. It’s essential to have assistance if the sink is made of a heavy material like cast iron or granite.
Step 7: Clean the Area
After removing the sink, clean the area thoroughly. Remove any old caulk or adhesive residue from the countertop with a scraper or putty knife. Inspect the area for any water damage or mold growth, which should be addressed before installing a new sink.
Handling Flooring and Backsplash Removal
When removing a kitchen backsplash, start by preparing your work area. Clear any items from the countertops and cover them to protect against damage. For the backsplash itself, use a utility knife to cut through the caulking along the edges to help free the tiles from the wall.
Employ a putty knife or a pry bar to carefully lift the tiles, starting from the edges where they are most accessible. If the tiles are particularly stubborn or if you’re working with materials like glass that are prone to breaking, consider using a heat gun to soften the adhesive before prying the tiles off. This method helps preserve the integrity of the drywall behind the tiles.
Remove Kitchen Flooring
Start by removing any baseboards or trim that may interfere with floor removal. For tile floors, begin at a point where tiles have already been compromised (if applicable) or at the edge of the room, and use a chisel and hammer to lift the tiles.
Be cautious of the subfloor; if you’re dealing with ceramic tiles, the removal process can be quite forceful and may damage the subfloor if not done carefully.
If you’re removing wood flooring, identify the direction of the boards and start removing them from the wall where the tongue side of the boards is exposed. Use a pry bar to lift the boards.
Final Clean-up and Waste Disposal
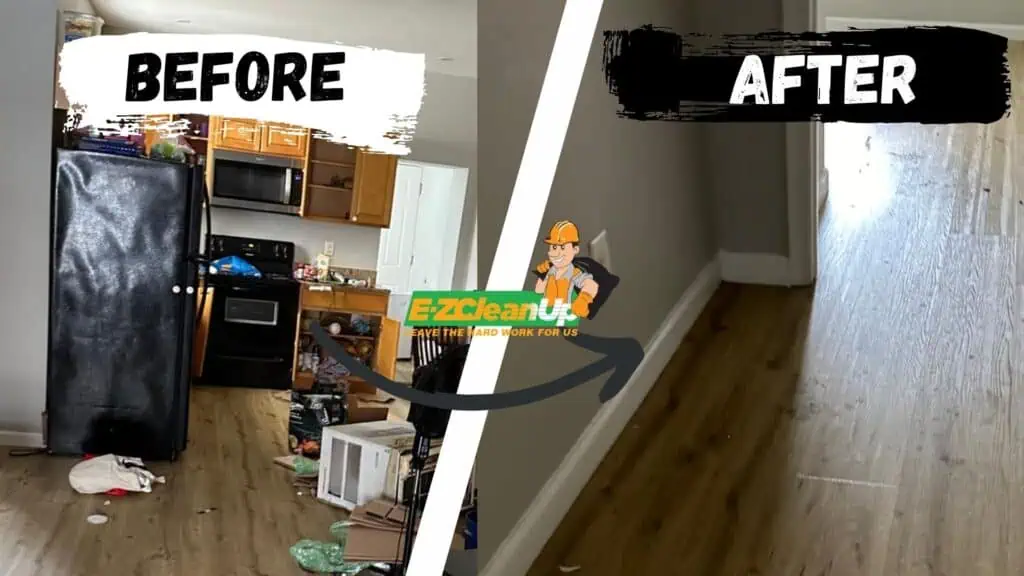
The clean-up phase of a project is critical for maintaining safety and ensuring that your worksite is prepared for any subsequent steps or inspections. Gathering all debris and waste materials is the first step.
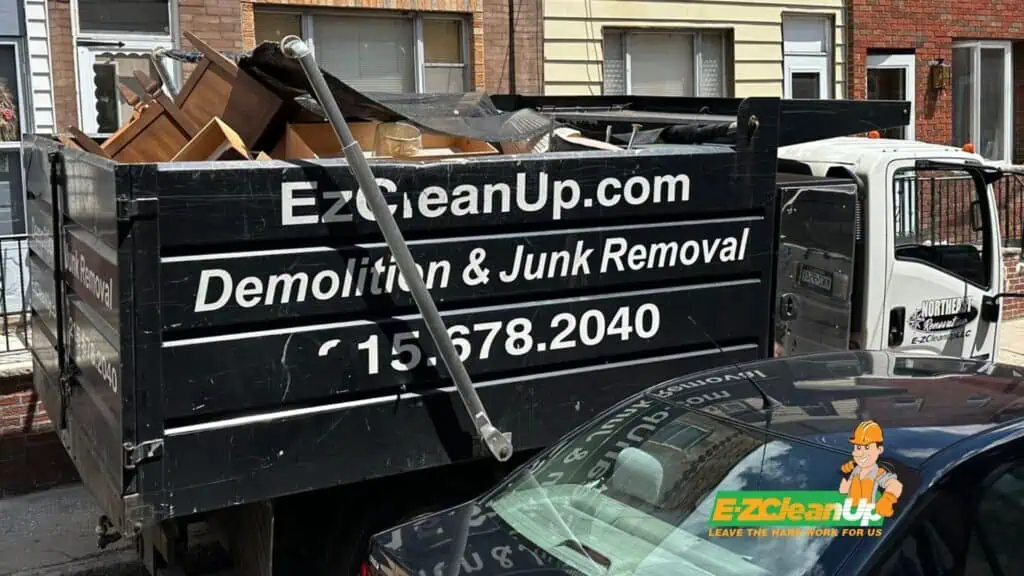
Depending on the volume and type of waste generated, renting a dumpster might be the most efficient disposal solution. This approach not only streamlines the clean-up process but also ensures that waste is contained and managed properly. This reduces potential hazards and promotes a clean environment.
It’s advisable to segregate waste into recyclables and non-recyclables to facilitate easier recycling processes, as recommended by best practices in waste management.
Clean the Exposed Surfaces
After waste removal, thorough cleaning of all exposed surfaces is essential. This includes sweeping, vacuuming, and possibly washing floors and walls to remove any dust and debris left behind.
It’s crucial to inspect these areas for any damage, such as cracks, holes, or structural weaknesses. Addressing these issues before moving forward with new installations ensures that the new fixtures or structures will be set on a solid, clean foundation.
Easy Kitchen Makeovers Start Here
After carefully removing your kitchen fixtures, you’re left with one more challenge: the cleanup. Here, precision in removing the old materials is just as important as the disposal process. EZ CleanUp is here to ensure that the final step in your kitchen makeover is handled with the same attention to detail.
We guarantee a clean, safe, and ready-to-renovate space. Call us to streamline your kitchen removal and disposal process!

