Here’s a brief step-by-step guide on how to demo a deck:
- Prepare and ensure you’re ready for the task.
- Assess the Structure and understand the deck’s construction.
- Gather essential tools.
- Equip yourself with the necessary protective gear.
- Check if any Permits are required.
- Clear the Area to remove any obstructions.
- Disconnect Utilities and ensure no active lines are in the way.
- Remember safety precautions and always prioritize safety.
- Begin the actual teardown.
- Properly get rid of debris.
- Fill and grade to prepare the ground post-demo.
- Double-check for any hazards.
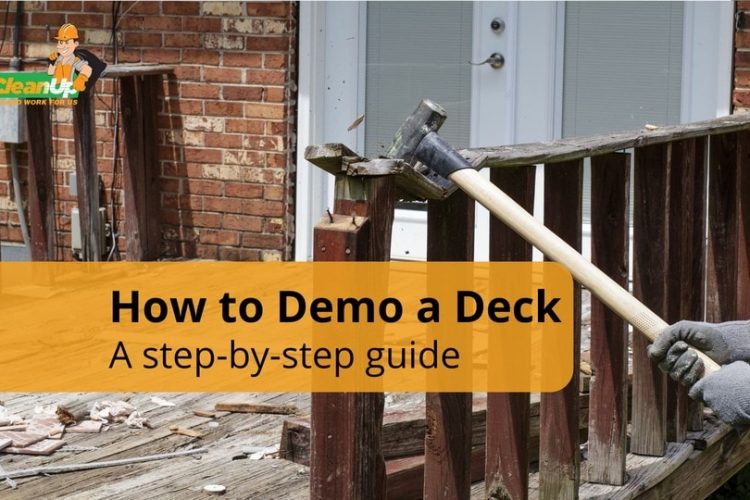
Demolishing a deck is more than just tearing down wood and nails. Dive into our comprehensive guide to ensure you’re equipped with the knowledge and skills to tackle this project efficiently and safely.
1. Preparation
Before diving into the demolition of a deck, proper preparation is crucial. This phase ensures that the process is smooth, safe, and efficient. Here’s a detailed breakdown of what you need to consider:
2. Assess the Structure
Start by examining the overall condition and construction of the deck. Understand its foundational elements, the materials used, and any potential weak spots. This assessment will give you insights into how to approach the demolition and what challenges you might face.
3. Tools You’ll Need
Equip yourself with the necessary tools for the job. Common tools for deck demolition include a crowbar, sledgehammer, saw, and pry bar. Depending on the deck’s construction, you might also need screwdrivers or drills to remove screws or nails.
You can also check out this specialized tool:
4. Safety Equipment You’ll Need:
Safety should always be a priority. Ensure you have protective eyewear, gloves, a hard hat, and steel-toed boots. If you’re using power tools, consider ear protection to shield against loud noises.
5. Are any permits necessary?
Before starting the demolition, check with your local municipality or city council to determine if you need a demolition permit to dismantle your deck. Some regions require permits, especially if the deck is attached to the main house or if the debris disposal impacts local environments.
6. Clear the Area:
Remove all furniture, plants, and other items from the deck. Ensure the surrounding area is also clear, providing you with ample space to work and move debris. This step minimizes the risk of damage to belongings and ensures a safer working environment.
7. Disconnect Utilities:
If there are any electrical fixtures, gas lines, or water connections attached to or running through your deck, ensure they are safely disconnected. This step is crucial to prevent accidents and damage during the demolition process.
With these preparations in place, you’re set to begin the demolition process with confidence and safety. Remember, the key to a successful deck demo lies in meticulous planning and preparation.
8. Safety Precautions
When demolishing a deck, safety should always be at the forefront of your actions. Here are some essential safety precautions to keep in mind:
👥 Work with a Partner:
Demolishing a deck is not a one-person job. Having a partner can make the process more efficient and safer. They can assist with heavy lifting, provide a second set of eyes to spot potential hazards, and be there in case of emergencies.
🏋️ Use Proper Lifting Techniques:
When lifting heavy objects, always bend at the knees and use your legs, not your back. Keep the object close to your body and avoid twisting while lifting. This lifting technique reduces the risk of back injuries and ensures you have better control over the item you’re lifting.
🔌 Take Care with Power Tools:
Always read the user manual before operating any power tool. Ensure they are in good working condition, and always disconnect them from the power source when not in use. Use tools with safety guards and always wear appropriate safety gear, like gloves and safety glasses, when operating them.
🚫 Stay Alert:
Always be aware of your surroundings. Watch out for tripping hazards, loose nails, or other sharp objects. Ensure the work area is well-lit, and always be cautious of the edge of the deck to prevent falls.
By adhering to these safety precautions, you can ensure that the deck demolition process is not only efficient but also safe for everyone involved. Remember, taking the time to prioritize safety can prevent potential accidents and injuries.
9. The Dismantling Process
Tearing down a deck requires a systematic approach to ensure efficiency and safety. Here’s a step-by-step breakdown of the dismantling process:
🔨 Start with Railings and Stairs:
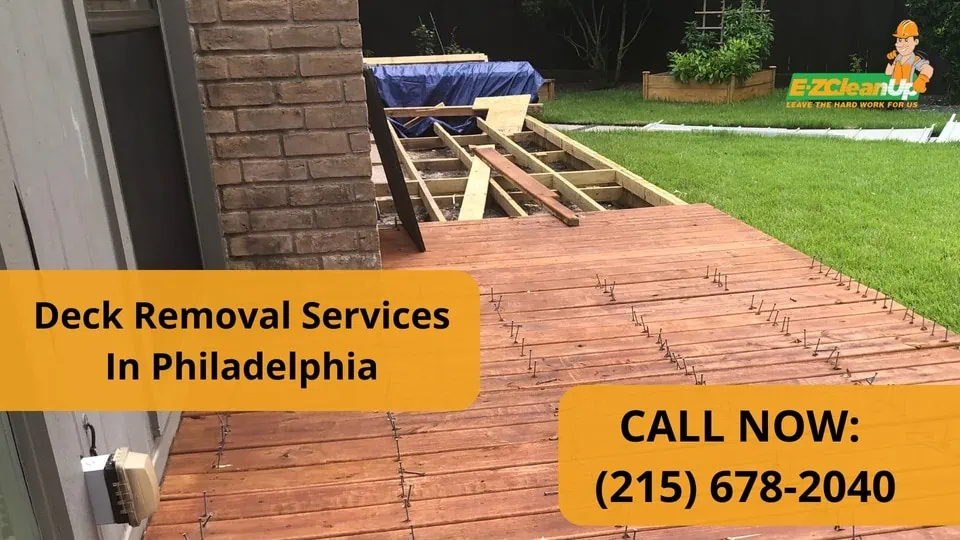
Begin the demolition by removing the railings. Using a pry bar or hammer, gently detach the railings from the main structure. Once the railings are off, proceed to the stairs. Depending on their construction, you might need to unscrew or pry them apart.
🪓 Remove Deck Boards:
Deck boards are typically the next to go. Start from one end and work your way to the other. Use a pry bar or crowbar to lift and remove each board. If boards are screwed in, use a drill or screwdriver to remove the screws first.
🔩 Dismantle the Frame:
Once the deck boards are off, you’ll be left with the frame. Start by removing the cross beams and joists. Depending on their attachment, you might need to unscrew or pry them apart from the main support beams.
Take Down Support Posts:
With the frame dismantled, focus on the support posts. Dig around the base if they’re cemented into the ground. Use a saw or sledgehammer to break them down, ensuring you’re wearing safety equipment to protect against splinters and debris.
🔧 Handle Old Fasteners:
Throughout the dismantling process, you’ll encounter old nails, screws, and other fasteners. Collect them in a container to prevent injuries and ensure they don’t become environmental hazards.
10. Dispose of Debris:
Gather all the wood, nails, and other debris. Depending on the condition, some wood might be recyclable or reusable. For the rest, consider renting a dumpster or hiring a junk removal service like EZ CleanUp to ensure eco-friendly disposal.
11. Fill and Grade the Area (if necessary):
Once the deck is fully dismantled, you might be left with uneven ground or holes. Fill these with soil and grade the area to ensure it’s level. This step prepares the space for future landscaping or construction projects.
12. Inspect the Area for Safety:
After the demolition, do a thorough inspection of the area. Look for any remaining nails, screws, or sharp objects. Ensure there are no tripping hazards and that the space is safe for use.
By following this systematic approach, you can ensure that your deck is dismantled efficiently and safely, leaving a clean and usable space in its wake.
Why Consider Professional Help?
Dismantling a deck can be a daunting task, requiring meticulous planning, the right tools, and a keen focus on safety. While the satisfaction of a DIY project is undeniable, there’s also a lot to be said about the peace of mind that comes with hiring professional demolition contractors.
Here are a few reasons to consider hiring a deck removal contractor:
👷 Expertise and Efficiency:
Professionals like EZ CleanUp have the experience and equipment to handle deck demolitions (or any kind of soft demolition) quickly and efficiently. They know the ins and outs of the process, ensuring that every step is executed with precision.
♻️ Eco-Friendly Disposal:
With a strong commitment to the environment, EZ CleanUp goes the extra mile to recycle, donate, or sell items whenever possible. This not only reduces the environmental impact but also ensures that reusable materials find a new purpose.
💰 Get Credited for Your Waste:
One of the standout services that we offer is to credit you back if we can sell your waste. This means that not only do you get professional service, but you might also get a part of your expenses back, making the deal even sweeter.
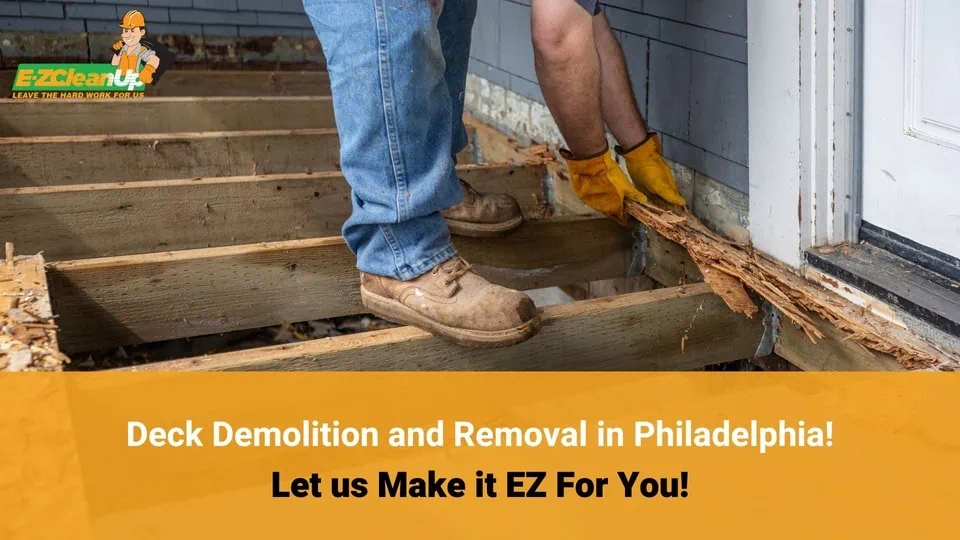
Ready to take the hassle out of your deck demolition? Choose EZ CleanUp for a seamless, eco-friendly, and potentially profitable solution. Contact us today and let us turn your demolition project into a breeze.

