Initiating the removal of a built-in closet requires verifying that the structure is non-load-bearing, emptying its contents, and ensuring utilities are disconnected. Employ the right demolition tools and seek professional advice for handling electrical or structural concerns.
Read on to find out the detailed steps on how to remove a built in closet.
Planning and Preparation Phase
Removing a built-in closet can make your space more adaptable to your needs and style. However, the process requires careful planning and preparation to ensure a smooth and successful outcome.
Evaluating the Closet’s Structure and Potential Challenges
Here are the steps needed to get this initial preparation done:
- Evaluate Structural Integrity: Before you start dismantling your closet, it’s important to understand its structure. Determine if the closet is part of a load-bearing wall, which is essential for the stability of your home. This evaluation requires a cautious approach to avoid any structural damage.
- Consult a Structural Engineer: If there’s any uncertainty about whether the wall is load-bearing, it’s wise to consult a structural engineer. They can assess the situation accurately and advise on the necessary support structures that need to be implemented after the removal of the closet.
- Identify Wall Materials: You need to know beforehand whether your wall is made of drywall, plaster, concrete, or a combination of materials. Each of them requires a different method of removal and tools, which can impact the complexity and duration of the project.
- Check for Electrical Wiring and Plumbing: Before proceeding with the removal, inspect for any electrical wiring or plumbing within the closet walls. These can significantly complicate the removal process. It is best to get professional assistance to relocate or secure these utilities safely.
- Consider Potential Challenges and Costs: Be prepared for potential challenges and additional costs that might arise. This is especially true if structural modifications are needed or if you discover electrical or plumbing systems that must be addressed. Planning for these possibilities ensures you are not caught off guard during the removal process.
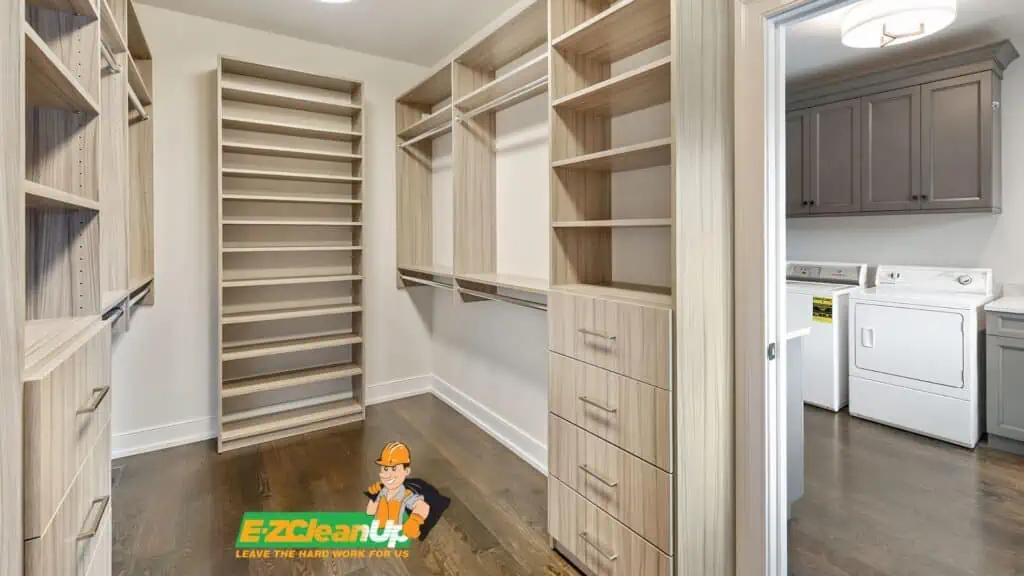
Deciding Between DIY and Professional Removal
Choosing between DIY and professional help for closet removal depends on the complexity of the task, your skills, and the potential need for structural changes. DIY is suitable for straightforward projects without load-bearing walls or utilities.
Yet, professional services are advised for load-bearing walls or areas with electrical or plumbing to ensure safety and code compliance. Mistakes in DIY projects can lead to significant issues, which highlight professional oversight as crucial for complex situations.
Considering factors such as permits, the seriousness of potential errors, and the value of your time can guide your decision.
Preparing the Work Area and Necessary Tools
Here’s how you can prepare your area and assemble the necessary tools:
- Clear the Closet: Begin by emptying the closet completely. This step is crucial for creating a clean and unobstructed workspace. It enables you to work efficiently without any hindrances.
- Gather Demolition Tools: Essential tools for the demolition phase include screwdrivers for removing hardware and hammers and pry bars for dismantling structures. Plus, you will need safety gear such as gloves and goggles to protect yourself from debris and dust.
- Prepare Repair Supplies: Having patching materials on hand, like spackle or drywall compound, is wise for immediate repairs to any damage inflicted on surrounding walls during the removal process.
- Address Mold Issues: If mold is present due to the common issues of poor ventilation and moisture in closets, use mold control sprays and ensure good air circulation both during and after the project to prevent future growth.
Step-by-Step Removal Process of Your Built In Closet
Removing a built-in closet involves a careful process to ensure safety and efficiency. Here’s a simplified guide to help you through each step, keeping in mind the direct, pragmatic approach of our brand voice.
1. Safely Dismantling Doors and Hardware
To prepare for closet removal, begin with these steps:
- Empty the Closet: Clear everything out to create a workspace free of obstacles and hazards.
- For Sliding Doors: Slide doors to one side to expose the tracks. Carefully loosen, but do not fully remove, the brackets on top of the doors to prevent them from falling.
- Handling Wheels: In the absence of brackets, you may need to deal with wheels on a track. Exercise caution to avoid the doors dislodging unexpectedly.
- For Hinged Doors: Remove hinged doors by unscrewing the hinges first. Handle the doors with care to avoid injury or damage during removal.
2. Handling Electrical Wiring and Avoiding Damage
If your closet includes any electrical fixtures or wiring, ensure to safely disconnect the power source before proceeding. This step is essential to avoid any potential safety hazards or damage to the electrical system.
Always consult a professional if you are unsure about the electrical setup within your closet to ensure a safe removal process.
3. Dealing with Plaster and Wall Repairs
After the doors and hardware are removed, you may encounter plaster walls that require careful handling to avoid damage. If there are any gaps or damage left by the removal process, it will likely involve patching the drywall.
This can be a bit more complicated if the walls and ceiling inside the closet are different thicknesses compared to the rest of the room. In this case, the task will require adjustments to ensure a seamless repair.
Following the removal, floor leveling might be necessary, especially if there was a significant height difference where the closet used to be. Once structural repairs are completed, painting the newly exposed walls can give the area a fresh, new look. It will integrate it with the rest of the room.
Throughout this process, prioritize safety and consider consulting professionals for aspects that fall outside your comfort zone, especially when it comes to electrical wiring and structural changes. The goal is to create more space efficiently while ensuring the structural integrity of your home remains intact.
Post-Removal Actions
After successfully removing a built-in closet, the next steps involve thoughtful disposal, repair, and repurposing of the area. Here’s how you can tackle these post-removal actions effectively:
Disposal and Recycling of Materials
Consider recycling materials like wood, metal, and plastic to minimize environmental impact. Many home improvement materials, including doors, windows, and unused lumber, can be donated to Habitat for Humanity ReStores, where they’ll find a second life.
Additionally, for items like clothing, shoes, and jewelry, there are numerous platforms for selling or donating, such as online marketplaces and local charities.
Repairing and Refinishing Surfaces
After the closet has been removed, you’ll likely need to address holes, damage, or uneven surfaces left behind. Use drywall patching compounds for wall repairs and sanding for a smooth finish.
If the paint needs touching up, ensure it blends well with the surrounding areas for a cohesive look. Remember, the goal is to make the space look seamless and well-integrated with the rest of the room.
Repurposing the Newfound Space
With the closet gone, think creatively about how to best use the new space. Whether you’re considering additional storage solutions like bins and organizers or transforming the area into something entirely new, such as a home office or reading nook, this is an opportunity to tailor your living environment to your needs.
Built In Closet Removal FAQ
Do I need a permit to remove a built-in closet from my home?
The need for a permit to remove a built-in closet varies depending on local building codes and regulations. Generally, if the removal involves structural changes to the property, such as altering load-bearing walls, electrical systems, or plumbing, a permit may be required.
It’s essential to consult with your local building department or a professional contractor to understand the specific requirements for your area. This ensures that all work is done legally and up to code, which is crucial for maintaining the safety and legality of your home improvement project.
How can I determine if the closet removal will affect my home’s value?
Removing a built-in closet can impact your home’s value, either positively or negatively, depending on several factors. These include the functionality of the space, the overall demand for storage in your market, and the quality of the finished project.
Consulting with a real estate professional or an appraiser can provide insight into how such a modification might affect your home’s marketability and value. They can assess current market trends and the importance of closet space in your area.
In some cases, removing a closet to create a more open or usable space can add value, especially if done professionally and in line with current homebuyer preferences.
How can I ensure the closet removal process is as dust-free as possible to protect my home environment?
Minimizing dust during the closet removal process involves a combination of preparation and the right tools. Here are some effective strategies:
- Use Dust Barriers: Before starting, set up dust barriers around the work area. These can be plastic sheeting or specialized dust barrier systems that seal off the area.
- Dust Extraction Tools: Use tools equipped with dust extraction capabilities. Many power tools, such as saws and sanders, come with attachments for vacuum hoses that can capture dust at the source.
- Manual Dust Control: When using manual tools like hammers and pry bars, periodically stop to clean up debris and dust with a vacuum equipped with a HEPA filter, which can trap fine particles more effectively than standard filters.
- Air Filtration: Position a portable air purifier with a HEPA filter within the work area or nearby to continuously filter the air and capture dust particles. Ensure good ventilation to help disperse any dust that does become airborne.
- Protective Coverings: Cover nearby furniture and floors with drop cloths or plastic sheeting to catch dust and debris.
- Regular Cleanup: Instead of waiting until the end of the project, perform regular cleanup sessions to manage dust accumulation.
Final Touches Made EZ
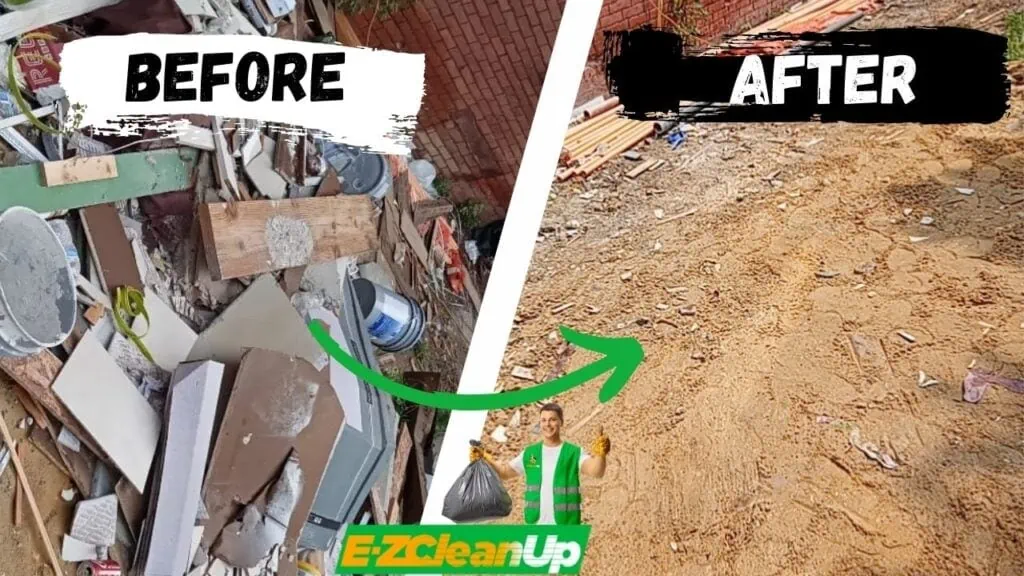
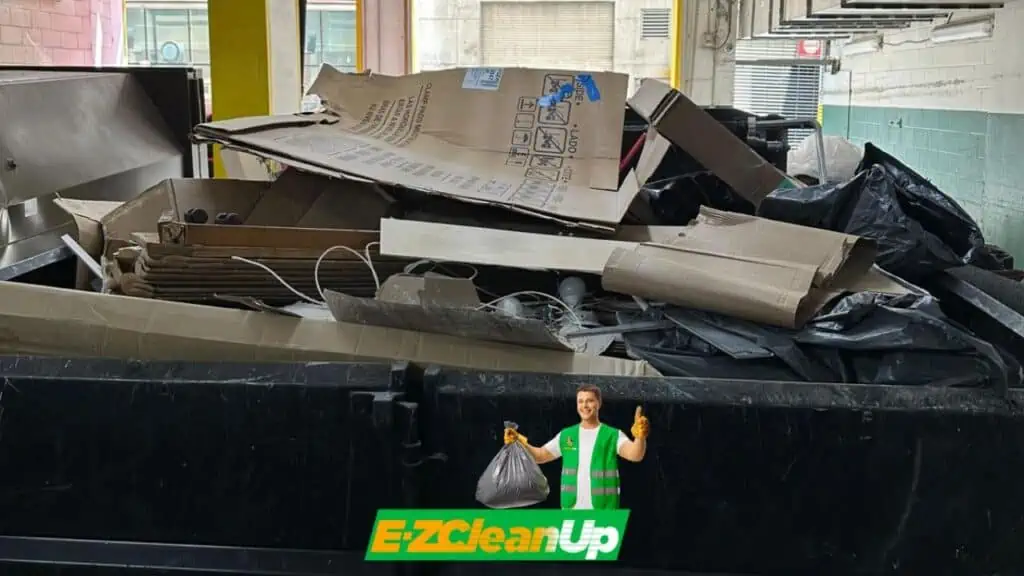
After successfully removing your built-in closet and creating new possibilities for your space, it’s time to deal with the debris. EZ CleanUp is here to efficiently clear out the remnants of your project, from wood and concrete to metal and plaster.
We’re experts in junk removal, offering comprehensive cleanout services that ensure your space is not just cleared but also prepped for whatever you have planned next. Whether it’s a home renovation or commercial site cleanup, our licensed and insured team makes disposal hassle-free.
Need a clean slate for your next project? Reach out to us.


