Discover the essentials of demolishing drywall: Gather tools like a sledgehammer and reciprocating saw, protect surfaces, mark utilities, and proceed with careful removal and cleanup for an efficient, safe demolition process.
If you want to know the step-by-step process on how to demo drywall, read on.
Step 1: Preparing for the Demolition
Before proceeding with the demolition of drywall, ensuring you’re well-prepared can make the process smoother, safer, and more efficient. This phase involves the following steps:
Gather Essential Tools and Materials
To effectively carry out a drywall demolition, you’ll need specific tools and materials, such as:
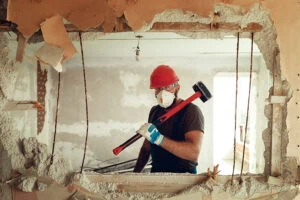
- Sledgehammer: This tool allows for efficient and effective removal of large wall sections by providing the necessary force to breach the drywall.
- Reciprocating Saw: This tool is essential for cutting through various materials, including wood and metal. Its versatility makes it invaluable for making precise cuts in tight spaces or around obstacles.
- Pry Bars: They are especially useful for prying out large pieces of drywall and detaching materials that are fixed to studs or frames.
- Nail Pullers: This tool is vital for cleaning up after removing drywall or other materials. It ensures that the work area is safe and free of potential hazards.
- Demo Fork: Particularly useful in older homes, a demo fork is used for removing underlying wooden boards. It is a specialized tool that helps in dismantling structures that may be held together by aged or intricate woodwork.
- Personal Protective Equipment (PPE): Safety glasses, gloves, earplugs, and head protection are mandatory to safeguard against potential hazards during demolition. These items protect your eyes from debris, your hands from sharp objects, your hearing from loud noises, and your head from impacts.
Set Up the Workspace to Control Dust and Debris
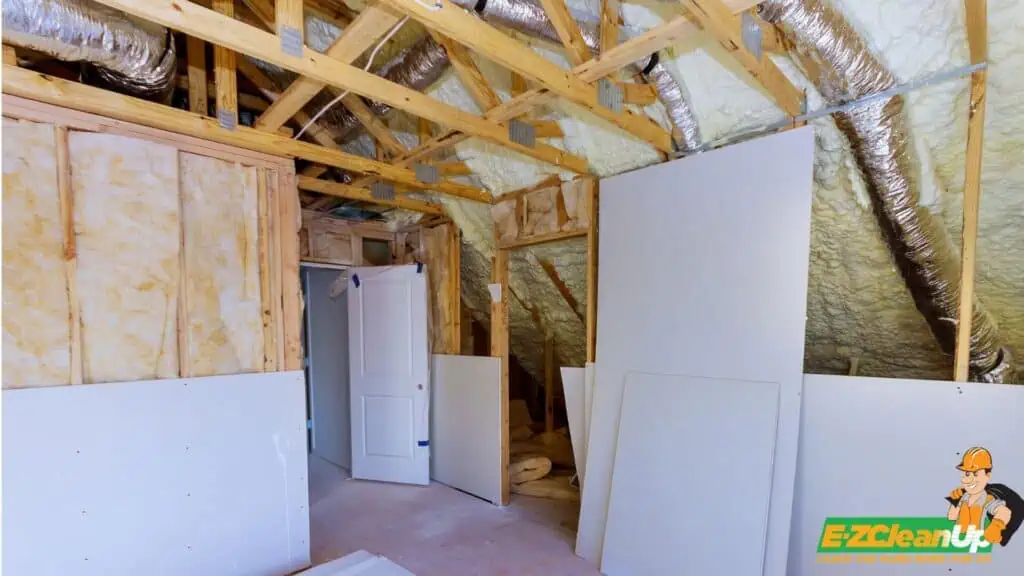
Cover nearby surfaces with drop cloths or plastic sheeting to catch debris. Use a box fan or air mover to create negative pressure, which will direct dust outside. You can also consider putting up temporary barriers to confine dust to the work area.
Floor protection is also essential. For hardwood floors, use layers of polyethylene plastic and foam-board insulation to prevent damage. For carpeted areas, double layers of poly, topped with kraft paper, are recommended to protect against spills and punctures.
Locate and Mark Utility Lines to Avoid Damage
Before starting the demolition, it’s crucial to locate and mark any utility lines within the walls. This includes plumbing, electrical wiring, and HVAC systems. Reviewing original blueprints can help identify if walls are load-bearing and where utilities are located.
Additionally, contacting local utility companies to mark underground lines can prevent accidental damage during the demolition process. Ensuring all utilities are properly identified and marked, and taking precautions like turning off water and power can help avoid costly mistakes and ensure a smooth demolition process.
Step 2: Initiating the Drywall Removal Process
Starting the drywall removal process efficiently involves a series of steps that ensure minimal damage to surrounding areas and a cleaner work environment. By following these steps, you can remove drywall safely and effectively:
Execute Corner Cuts for Efficient Removal
Begin by cutting the corners of the drywall to facilitate easier removal of panels without damaging adjacent walls. Using tin snips or a utility knife, make clean, angled cuts at each corner. This will help preserve the integrity of the structure and adjacent surfaces while ensuring the drywall can be removed in larger sections.
Detach Screws and Fasteners to Free the Panels
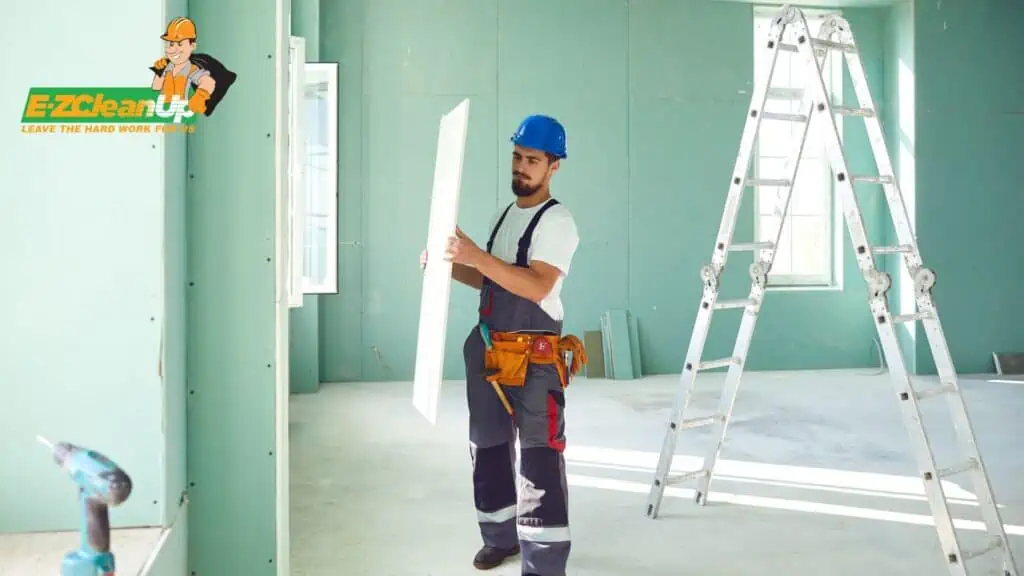
A combination of tools, such as a drill with a bit designed for drywall screws and a nail puller, will be necessary for this task. Carefully unscrew each fastener without stripping the heads to ensure a smooth removal process. A magnetic stud finder can be invaluable in locating hidden screws and nails.
Create Handholds for Easier Handling and Removal
This can be done by making small indentations or cuts along the edges where grip is most needed. These handholds help in handling the panels more efficiently. It will reduce the risk of breaking them during removal.
Use Strategies for Removing Panels in One Piece
Whenever possible, aim to remove drywall panels in one piece to minimize dust and debris, as well as reduce cleanup time. Techniques such as scoring the drywall tape at seams and using the correct tools for cutting can help maintain the integrity of each panel.
If you encounter large panels that are difficult to handle, consider dividing them into manageable sizes that still allow for relatively large sections to be removed intact.
Step 3: Cleaning Up After Demolition
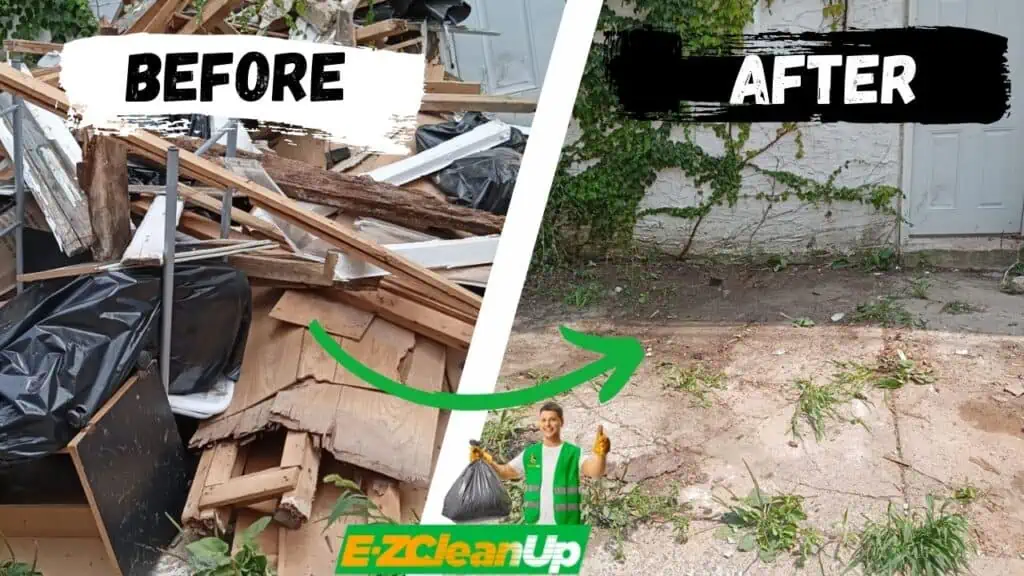
After the demolition of drywall, it’s crucial to engage in a thorough clean-up process to ensure a safe and clean environment. Here are the steps to get this done:
Conduct Thorough Debris and Dust Clean-Up
- Sweep and Vacuum: Begin by sweeping up larger debris with a broom and dustpan. Then, use a vacuum cleaner equipped with a HEPA filter to capture the fine dust particles.
- Dust Surfaces: Use microfiber cloths to dust off all surfaces. These cloths are effective at trapping dust without spreading it around. For elevated surfaces and hard-to-reach areas, a long-handled duster or your vacuum’s soft brush attachment can be very useful.
- Wet Cleaning: After dusting, use damp cloths to wipe down all surfaces to capture any remaining dust. This method is particularly effective on walls and floors where dust has settled.
Sort Drywall Materials for Disposal
Segregate the drywall waste into different types—gypsum, paper, and metal—so that recycling and disposal are easier to manage. This step makes the disposal process more efficient while helping prepare the materials for recycling, if available in your area.
Explore Recycling Options for Drywall Waste
Investigate local recycling programs that accept drywall materials. Drywall can be recycled into new drywall products or used as a soil amendment in some agricultural settings. Contact local waste management services or recycling centers to find out about the recycling options available for your drywall waste.
Additional Tips for a Clean and Safe Post-Demolition Environment
- Personal Protective Equipment (PPE): Wear gloves, a dust mask, and safety glasses during the clean-up process to protect yourself against dust and debris.
- Proper Disposal of Plastic Sheeting: If you used plastic sheeting to catch dust, carefully fold it to contain the dust and dispose of it properly.
- Professional Help: For large-scale cleanups or if hazardous materials are involved, consider hiring professional cleaning services that specialize in post-construction cleanups. They have the expertise and equipment to ensure a thorough clean.
Step 4: Addressing Common Demolition Challenges
Demolishing drywall can present various challenges, from dealing with stubborn panels to managing hazardous materials and protecting underlying structures. Here’s how to deal with these issues effectively.
Tackle Issues with Stubborn Drywall Panels
Stubborn drywall panels that refuse to come off easily can be a problem. To deal with them, scoring the drywall surface with a utility knife before attempting removal can be effective. If the panel still resists, employing a pry bar or demo fork to gently separate it from the studs can help.
For particularly stubborn areas, using a reciprocating saw to cut the panel into smaller, more manageable pieces allows for easier removal. You can also use a combination of tools like utility knives, pry bars, and reciprocating saws to effectively remove drywall panels, even when they are resistant.
Manage Drywall Containing Hazardous Materials
Drywall that contains hazardous materials, such as asbestos or lead paint, requires careful handling. The best approach is to engage a professional contractor who is experienced in dealing with hazardous materials.
These professionals have the necessary equipment and knowledge to safely remove and dispose of the drywall without posing a risk to health or the environment. It’s essential to follow safety guidelines and legal requirements for handling and disposing of such materials.
Protect Underlying Structures from Damage
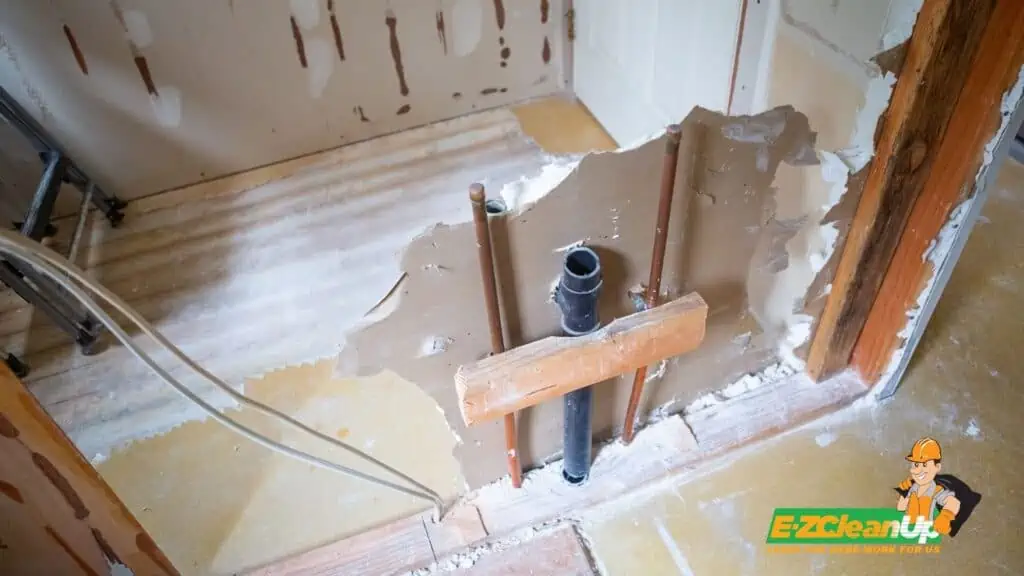
Utilizing a stud finder can help identify the locations of studs, electrical wiring, and plumbing to prevent accidental damage. When removing drywall panels, employing a pry bar or demo fork allows for careful separation from the studs. It’s important to avoid using excessive force, which could damage the underlying structures.
Additional Tips
- Using Magnets and Drills: For a clean and fast demolition, consider removing screws and nails before pulling off drywall panels. This method significantly reduces dust and debris.
- Cutting Corners: Literally cutting the drywall tape in the corners can make removing the panels cleaner and easier. This technique helps prevent damage to adjoining surfaces and makes the pieces come out more cleanly.
- Professional Insights: Remember, professional demolition crews often avoid using sledgehammers, especially in smaller projects, to minimize dust and damage. Removing screws before the panels can speed up the process without the need for extensive cleanout.
Step 6: Enhancing Demolition Efficiency
Enhancing the efficiency of drywall demolition is not just about hard work; it’s about smart work.
Apply Advanced Tools for Speed and Efficiency
For cutting through drywall, nothing beats the versatility and speed of a reciprocating saw. With the right blade, it can swiftly cut through drywall, wood, metal, and more. It’s considered an indispensable tool for demolition projects. The ease of blade changes further enhances its efficiency.
Nail pullers are also invaluable for removing stubborn fasteners quickly without damaging the material. They have been proven to be more effective than traditional pliers or pry bars in many cases. For projects involving metal sheeting or old ductwork, tin snips are essential for cutting through metal efficiently.
Implement Dust and Debris Minimization Techniques
Creating a controlled environment helps minimize dust and debris. Also, using tools like the oscillating multi-tool can help make precise cuts without generating excessive dust.
Adopt Best Practices for a Swift and Clean Process
Knowing the sequence of tasks and having the right tools at hand can save time and prevent accidents. Good lighting and ventilation are crucial for safety and efficiency. Clear communication among team members ensures that everyone is coordinated and working towards the same goals. All these steps will help avoid confusion and delays.
Streamline Your Demolition Cleanup with EZ
Finalizing your drywall demolition? Let EZ CleanUp take it from here. Our comprehensive services in Philadelphia, including junk removal, site cleanups, and dumpster rentals, ensure your project ends as smoothly as it began.
We’re the experts in hauling away non-hazardous construction debris, leaving your site clean and hazard-free. Don’t let cleanup slow you down. Contact us for fast and responsible disposal at any time.
