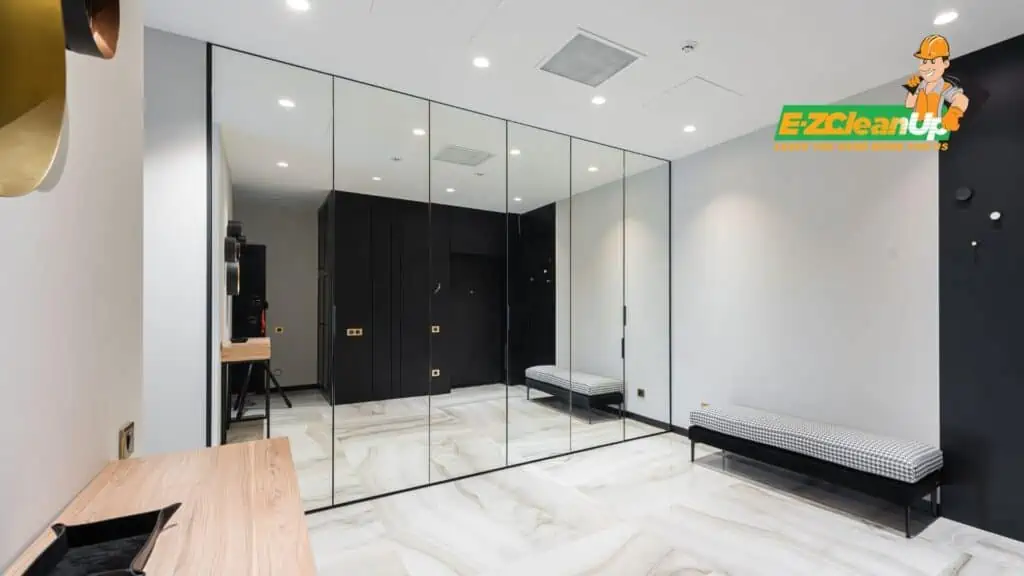
When demolishing a mirrored wall, make sure that you follow efficient methods. These include employing heat to soften adhesive for smaller mirrors and using wire saws and pry bars for larger installations. These steps ensure both safety and wall integrity.
Discover comprehensive steps on how to demo a mirrored wall in our detailed guide.
Techniques for Removing Mirrored Walls
Removing mirrored walls involves various techniques tailored to the size and type of the mirror. These methods range from heating and prying for smaller mirrors to more complex strategies for larger installations.
Here’s how to approach the task safely and effectively:
Strategy for Small to Medium Mirrors
For smaller mirrors, a gentle approach is advisable:
- Heating the Adhesive: This technique involves applying heat directly to the adhesive, which softens the glue holding the mirror in place. By gently warming the area, the adhesive becomes less rigid, making the mirror easier to remove without causing any damage to the wall behind it.
- Using a Drywall Knife for Gentle Prying: Once the adhesive has been softened, the next step involves the careful use of a drywall knife. This tool allows for gentle prying between the mirror and the wall. By inserting the knife edge and applying slight pressure, you can gradually detach the mirror.
Strategy for Large or Wall-to-Wall Mirrors
Larger mirrors require tougher methods and precautions:
- Employing a Wire Saw for Adhesive Removal: For mirrors exceeding 2 by 2 feet in size, using a wire saw becomes necessary. This tool enables a methodical and damage-free removal by allowing precise control over the detachment process. The method ensures that both the mirror and the wall remain unscratched.
- The Crucial Role of a Helper: A helper provides the necessary support by holding the mirror, significantly reducing the risk of accidents during the process. Their assistance ensures that the mirror’s weight is evenly distributed and managed.
Special Considerations for Floor-to-Ceiling Mirrors
Floor-to-ceiling mirrors pose unique challenges and require additional safety measures:
- Implementing Additional Safety Measures: When dealing with floor-to-ceiling mirrors, it’s crucial to adopt comprehensive safety measures. This includes the use of protective gear and wearing thick clothing to guard against injuries during the removal process.
- Utilizing Shims and a Pry Bar for Removal: Inserting shims creates a small opening between the mirror and the wall. It provides a leverage point. This setup allows for the use of a pry bar to gently flex the mirror away from the wall. Employing this technique facilitates a controlled and damage-free removal of the mirror. It ensures that neither the wall nor the mirror itself are harmed in the process.
Preparation for Demolition
If this is your first time to do it, and you are clueless about the tools or where to even begin, we’ll help you by tracking back a bit.
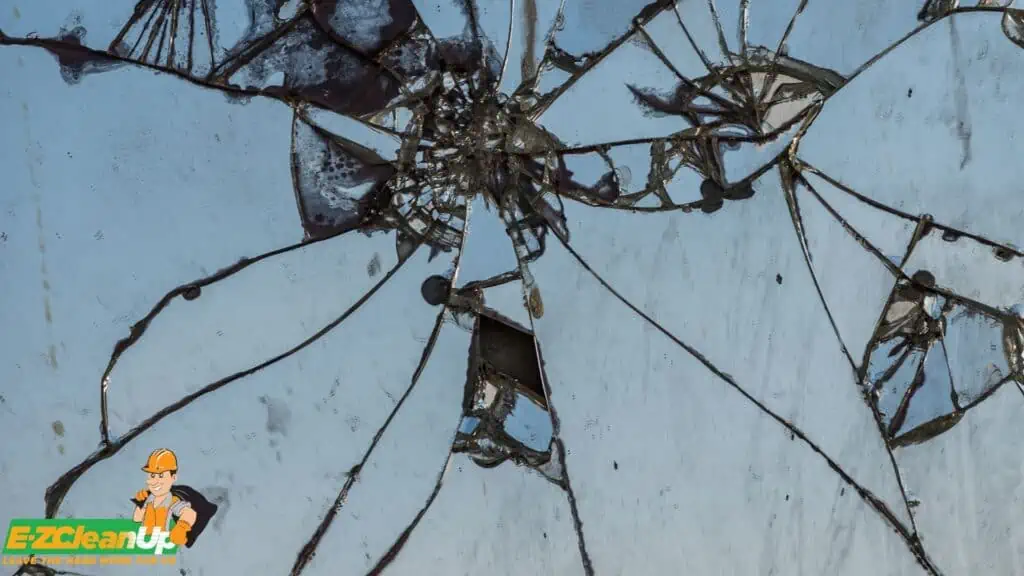
The importance of this task lies in reducing risks such as injury from broken glass and preventing damage to the surrounding area. Approaching this task methodically can also save time and effort on wall repairs post-demolition.
Safety First: The Non-negotiable Protective Gear
Before starting the demolition, make sure you have protective gear on hand, which includes:
- Safety Goggles: Protect your eyes from flying glass fragments, a common hazard during mirror removal.
- Work Gloves: Use heavy-duty gloves to safeguard your hands from sharp edges and potential cuts.
- Dust Mask: Wearing a dust mask helps prevent inhaling any dust and debris, which could be harmful over time.
Detailed Steps for Safe Demolition
- Preparation: Wear protective clothing, such as long sleeves, pants, and work boots, to minimize the risk of injury from glass.
- Work Area Setup: Use a heavy canvas drop cloth to catch any glass shards, and keep a metal garbage can nearby for easy disposal of glass pieces.
- Mirror Surface Preparation: Cover the mirror with self-adhesive shelf liner to hold broken pieces together and reduce the risk of flying glass.
- Heating and Prying: Use a hairdryer to warm the adhesive and carefully pry the mirror tiles off with drywall knives and a small pry bar. Apply heat as needed to soften the glue.
- Adhesive Removal: After removing the mirror, use the hairdryer and a drywall knife to scrape off any remaining adhesive.
- Wall Repair: Patch the wall with joint compound, sand it down, and prepare it for priming and painting.
Post-Removal Process
After the mirrored wall has been removed, a detailed and cautious approach is essential for cleaning, repairing, and preparing the wall for its next phase. You need to follow all these, whether that’s a fresh coat of paint or a new decorative element.
Cleaning the Wall Surface from Adhesive Residues
Removing adhesive residues is crucial to restoring the wall to its original state. Begin by heating the adhesive with a heat gun or hair dryer to soften it. This will make it easier to remove. A putty knife or scraper can then be gently used to peel away the adhesive.
For stubborn residues, applying a solvent like acetone or a specialized adhesive remover can be effective. Ensure you wear protective gloves and goggles for safety, and work in a well-ventilated area. After the adhesive is removed, clean the wall with warm water and mild detergent, then let it dry thoroughly.
Inspecting and Repairing Wall Damage
Once the adhesive is removed, inspect the wall for any damage, such as holes, cracks, or uneven surfaces. Small damages can be repaired with a patching compound, then sanded smooth.
For a uniform surface, apply a primer before painting. This not only covers any discoloration but also ensures that the new paint adheres well and looks consistent. In cases of significant damage, it might be necessary to skim coat the entire wall with joint compound for a smooth finish.
Disposal of Mirror Pieces
When disposing of removed mirror pieces, prioritize safety and environmental considerations. Wear gloves to handle broken glass, and use a broom or dustpan for collection. If possible, recycle the glass at a local recycling center.
For larger pieces or whole mirrors, consider offering them for reuse through community exchanges or social media platforms. This approach not only ensures safe disposal but also aligns with eco-friendly practices.
When to Call a Professional
Removing a mirrored wall can be a straightforward DIY project under certain conditions. However, there are scenarios where calling in a professional is not just advisable but necessary for safety, efficiency, and to prevent damage.
Identifying Scenarios that Require Professional Help
- Large or Floor-to-Ceiling Mirrors: The size and weight of large mirrors pose significant challenges and risks, making professional assistance vital.
- Fragile Materials: Mirrors made of delicate materials like stained glass require specialized handling skills that professionals possess.
- Difficult Locations: Mirrors installed in hard-to-reach or hazardous locations, such as high above the ground or in tight spaces, necessitate the expertise and equipment that professionals bring.
The Benefits of Professional Assistance in Difficult Cases
- Safety: Professionals have the right tools, knowledge, and experience to handle the removal process without causing injury to themselves or damage to your property. They take precautions to manage the risks of breaking glass and know how to deal with hazardous situations safely.
- Efficiency: With their experience, professionals can complete the job more quickly than a DIY enthusiast. Their process is streamlined to minimize downtime and ensure that your space is cleared and ready for use as soon as possible.
- Expertise: Professionals understand the nuances of different types of mirrors and their installations. They can deal with challenges such as stubborn adhesives or complex mounting systems without causing damage to the wall or the mirror.
If you’re considering the removal of a mirrored wall, evaluate the situation carefully. For large, fragile, or awkwardly positioned mirrors, or if you’re unsure about any aspect of the removal process, it’s wise to consult with a professional.
How to Demo a Mirrored Wall FAQ
What Should I Do if the Mirror Is Partially Damaged During Removal?
If the mirror sustains partial damage during the removal process, prioritize safety by wearing protective gear to prevent injuries from sharp edges. Assess the damaged sections to determine if they can be safely removed or if professional assistance is needed.
Small, manageable pieces should be carefully detached using appropriate tools and techniques, similar to intact mirror removal. Dispose of the broken mirror pieces according to local regulations. Ensure they are properly wrapped to avoid harm to waste management personnel.
Can Adhesive Residues Affect the Type of Wall Finish for Future Decorations?
Adhesive residues left on the wall can impact the application and appearance of future wall finishes. It’s essential to thoroughly clean the wall surface from all adhesive residues to ensure a smooth and clean base for any new paint or wallpaper.
Using a solvent or adhesive remover can be effective, but make sure it’s suitable for your wall type to avoid damage. After removal, sanding the area lightly and applying a primer can help prepare the wall for a new finish.
Are There Any Legal or Environmental Considerations When Disposing of Mirrored Walls?
When disposing of mirrored walls, it’s important to consider both legal and environmental regulations in your area. Mirrors, especially broken ones, cannot typically be recycled in the same way as other glass items due to their reflective coating.
Check with your local waste management services for specific disposal guidelines. They may offer specialized programs or advise on eco-friendly disposal methods. Proper disposal ensures safety and compliance with regulations, and it helps minimize the environmental impact by avoiding improper waste handling.
Demolish Mirrored Walls with Confidence and Ease
When it comes to demolishing mirrored walls, the task requires careful handling to ensure safety and prevent damage. This process, while straightforward for some, can quickly become daunting due to the risks of shattered glass and the challenge of adhesive removal.
Once the wall is down and the debris is cleared, the question of what to do next arises. That’s where we at EZ CleanUp step in.
Specializing in more than just junk removal, we offer comprehensive services that cover everything from construction debris removal to the responsible disposal of materials like mirrors and glass, as long as they’re not contaminated with hazardous substances.
For homeowners and businesses undertaking renovations, including mirrored wall demolition, EZ CleanUp provides a licensed and insured service that leaves your space clean and ready for its next phase. Trust us to handle the aftermath of your project, making the transition as smooth and hassle-free as possible. Reach out to us.
