Removing wood paneling requires careful steps: turning off utilities, removing obstructions, identifying attachment methods (nails, glue, screws), and then prying or heating for removal. Post-demo, clean up, repair surfaces, and responsibly dispose of or recycle debris for a sustainable renovation.
Want to know all the actions involved on how to demo wood paneling? Read on.
The Step-by-Step Guide to Demolition
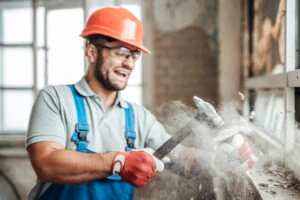
The demolition of wood paneling involves carefully removing the panels from walls, which can be attached in several ways, including directly to wall studs or drywall or with glue. Depending on how the paneling is attached, you might need to pry the panels away carefully to avoid damaging the underlying wall or use a heat gun to soften glue for panels that are glued on.
Here’s a detailed guide to help you through the demolition process efficiently and safely.
1. Starting the Demolition Process
The first step in demolishing wood paneling involves some preparatory actions:
- Ensure that all utilities are turned off to prevent any accidents during the process. This includes electricity, water, and gas supplies.
- Remove any fixtures, trim, and moldings that might obstruct the demolition work or could be damaged during the process.
- Determine how the paneling is attached to the walls—whether by nails, glue, or screws.
Once you’re ready to start the actual demolition:
- If the panels are nailed or screwed in, gently pry them away from the wall using a pry bar.
- For nailed panels, you might also need pliers to pull out the nails as they become loose.
- For panels attached with glue, a more careful approach is needed. You may require tools like a spatula or chisel to lift the panels without damaging the underlying wall.
- In some cases, especially when dealing with glued panels that are difficult to remove, consulting a professional might be advisable to avoid significant damage to the wall structure.
2. Post-Demolition Cleanup and Disposal
After you’ve completed the demolition of wood paneling, it’s essential to properly clean up the area and responsibly handle the disposal of debris.
Here’s how you can tackle this task efficiently and in an environmentally friendly manner:
Cleaning the Area After Panel Removal
Once the wood paneling is removed, begin by addressing any damage to the walls or surfaces. This might involve filling in nail holes or fixing minor imperfections to ensure a smooth surface for any subsequent renovations or painting.
Next, thoroughly vacuum or sweep the area to collect all loose debris. Make sure that you get into every nook and cranny where dust might have settled. For a comprehensive clean, wipe down the walls and floors with appropriate cleaning solutions to remove any residual dust or adhesive that might be left behind.
Tips for Recycling and Disposing of Wood Paneling
It’s important to separate recyclable materials from non-recyclables. Wood paneling that’s in good condition can be salvaged for future projects or donated to organizations that can repurpose it.
When dealing with non-recyclable materials or debris, consult local recycling centers to understand the accepted materials and the guidelines for disposal. This ensures that you’re contributing to sustainability efforts by minimizing waste.
Professional Services for Waste Management and Recycling
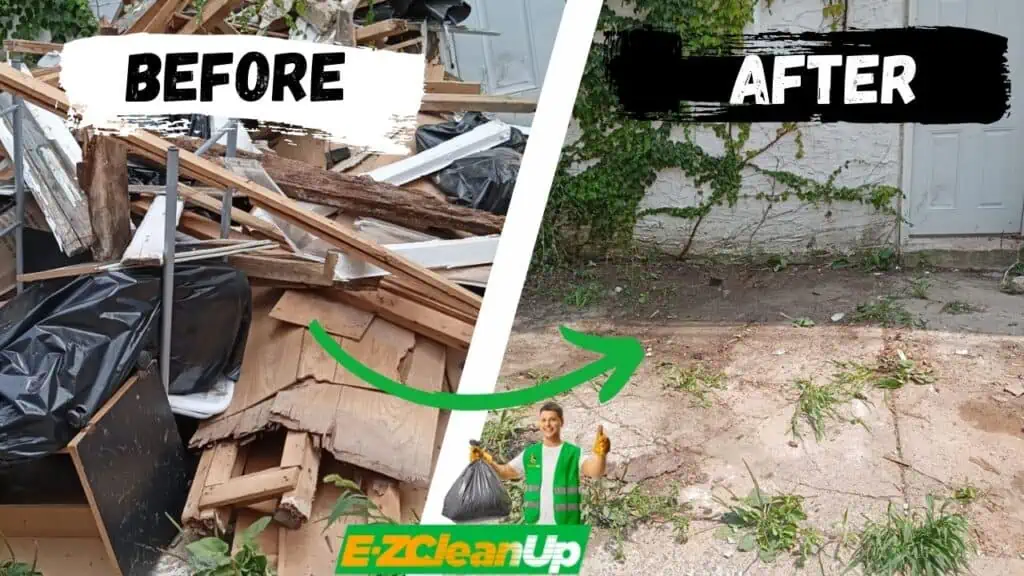
For larger demolition projects or if you’re looking for a hassle-free disposal solution, professional junk removal services like ours at EZ CleanUp can be invaluable. Our waste management services take care of sorting materials, facilitating recycling, and disposing of non-recyclables according to local regulations.
Moreover, we can haul away construction debris and offer cleanout services. This way, you can focus on your renovation project without worrying about the aftermath.
More Post-Demo Cleanup Tips
In tackling post-demolition cleanup, it’s also beneficial to use techniques for removing any adhesive residues left on the walls. Heating the glue with a heat gun or hair dryer can soften it for easier removal.
For stubborn glue, a mixture of distilled white vinegar and hot water can be effective. Gently scrape off dried glue with a paint scraper or putty knife, taking care not to damage the underlying surfaces.
Remember, whether you’re doing the cleanup yourself or enlisting the help of professional services, you must prioritize safety and environmental responsibility. This will ensure that your demolition project is not only successful but also sustainable.
3. Repair and Preparation for Next Steps
After the demolition of wood paneling, it’s crucial to repair any damage to the underlying surfaces and prepare the area for new installations or finishes.
Assessing and Repairing Damage
Once the wood paneling is removed, you might find damage such as holes, gouges, or areas where the drywall paper has been torn off. To repair these damages:
- Fill Nail Holes and Cracks: Use drywall putty to fill any nail holes or cracks. Allow it to dry completely. This step is essential for creating a smooth base for whatever finish you choose next.
- Smooth Patched Areas: After the putty has dried, use fine-grit sandpaper to smooth the area. This ensures that your primer and paint or any other finishes will apply evenly.
- Use Patching Kits for Larger Holes: For more significant damage, you might want to use patching kits that come with reinforced center panels and self-adhesive tape, making the repair process simpler and ensuring a surface that’s ready to paint.
Preparing the Area for New Installations or Finishes
After repairing the underlying surfaces:
- Apply a Coat of Primer: This prepares the surface for painting or the application of new wallpaper. Primers help the new finish adhere better and provide a uniform base.
- Consider Skimming: If the wall beneath the paneling is in poor condition, you might need to skim-coat it with a plaster-like finish. This can help hide imperfections and create a smooth finish.
Recommendations for Sustainable and Eco-Friendly Materials
When choosing materials for your new wall coverings, consider environmentally friendly options, which include the following:
- Reclaimed Wood Panels: These not only add unique character to your space but also contribute to sustainability by reusing materials.
- Bamboo or Cork Panels: Both materials are renewable and biodegradable, making them excellent choices for eco-friendly renovations.
- Natural Fiber Wallcoverings: Options like jute, hemp, or flax fibers are sustainable and add a distinct look to your interiors.
Remember to research the environmental impacts and life cycle assessments of the materials you choose. This ensures that your renovation project aligns with your sustainability goals and contributes positively to the environment.
Benefits of Removing Old or Outdated Wood Paneling
Removing old or outdated wood paneling can have several benefits, transforming your space in multiple ways:
- Improved Aesthetics: Updating your space by removing old wood paneling can modernize the look of your home to make it more appealing and welcoming.
- Enhanced Insulation: Wood paneling removal can lead to better insulation options.It could potentially lower energy costs and make your home more comfortable throughout the year.
- Environmental Sustainability: The demolition process allows for the recycling or repurposing of wood. This contributes to environmental sustainability by reducing waste.
- Health and Well-being: Spaces refreshed by the removal of outdated materials can have a positive effect on the well-being of occupants. They can help reduce stress levels and improve overall mood.
Do It Right from the Start
Before beginning the project of removing wood paneling, it’s essential to prepare adequately to ensure the process is smooth, efficient, and safe. Here’s how to get started:
Assessing the Area and Identifying Potential Challenges
The first step involves a thorough assessment of the area. This stage is crucial for identifying any potential challenges you might face during the demolition. Key considerations include turning off utilities to avoid accidents, removing any trim or moldings that could obstruct the process, and inspecting for hidden wiring or plumbing that could be damaged.
Gathering Necessary Tools and Materials
Having the right tools at your disposal can make a significant difference in the efficiency and safety of the demolition process. Essential tools include a utility knife, pry bar, hammer, screwdriver, safety goggles, and protective gear.
These tools will help you detach the paneling from adjacent surfaces, break it into manageable pieces, and ensure debris is handled properly. For glued panels, a spatula or chisel may be necessary to loosen the paneling from the wall. If the demolition reveals old cement plaster sticking to the wood or if you encounter difficulties, consulting with professionals is advised.
Ensuring Safety During the Process
Safety should be your top priority throughout the demolition process. Protective eyewear is a must to guard against flying debris and sharp objects. Additionally, it’s vital to take measures to protect the wall underneath the paneling during removal.
Creating temporary dust walls can help contain dust and debris. This will minimize the cleanup required afterward and reduce the risk of respiratory issues. The correct use of tools and careful handling of materials can also prevent injuries and ensure the structural integrity of your space is maintained.
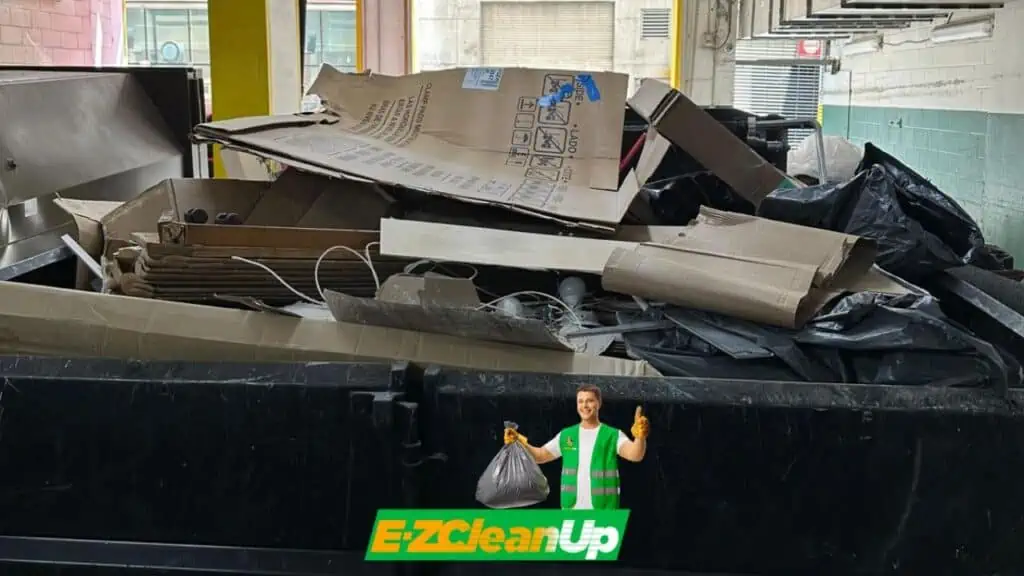
Renovation Cleanup Made EZ
After the hard work of demolition, let EZ CleanUp take the hassle out of the post-demo clearing. We specialize in the responsible disposal and recycling of construction debris, including wood paneling, ensuring your project is as stress-free as possible.
Our licensed and insured team is ready to handle all your junk removal needs in Philadelphia, from construction site cleanups to garage, yard, and basement cleanouts. Don’t let the debris slow down your renovation. Contact EZ CleanUp today and keep your project moving smoothly.


