Follow these steps to remove a drywall:
- Assess the drywall.
- Gather drywall removal tools.
- Prepare the work area.
- Remove the drywall.
- Address electrical and plumbing fixtures.
- Repair and patch structural elements.
- Disposing of your drywall responsibly.
For a detailed, step-by-step guide on how to remove drywall, continue reading this article.
Step#1: Assessing the Situation – Understanding Drywall
Drywall, often referred to as sheetrock or plasterboard, is a construction material used to create walls and ceilings in buildings. Comprising gypsum plaster pressed between two thick sheets of paper, it is favored for its easy installation, fire resistance, and sound insulation properties.
While drywall is durable, there are several reasons you might need to remove it. Water damage, mold growth, renovations, or simple wear and tear over time can compromise its integrity, which will require a replacement or repair. Before removing anything, make sure to assess the situation. This is the only way you can understand the best way to remove drywall or how to remove drywall ceiling.
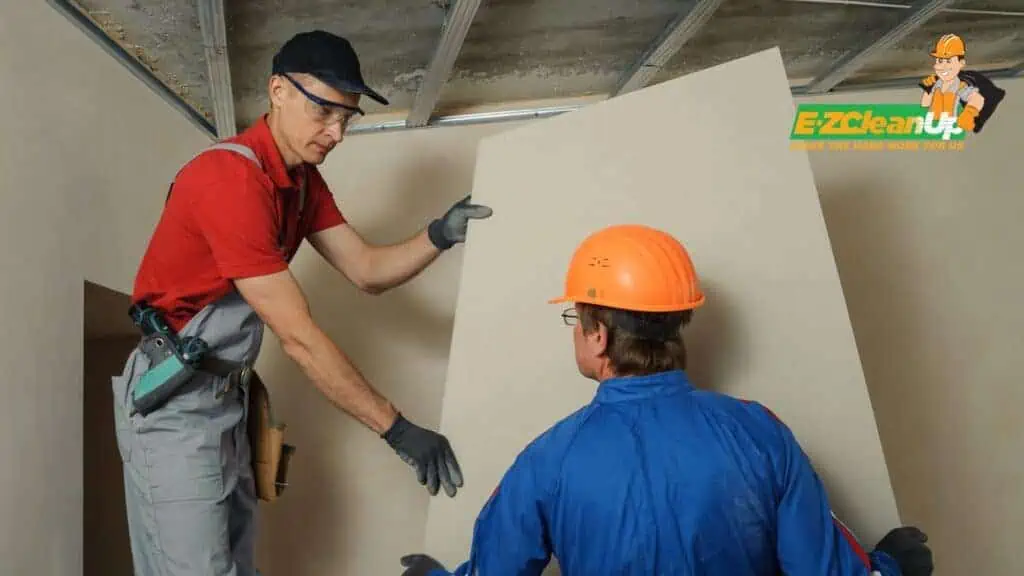
Visual Inspection
Look for evident signs of damage like holes, cracks, sagging, or discoloration. Water stains, for instance, are clear indicators of potential leaks or moisture problems.
Physical Examination
Gently press against the wall with your hand. Drywall that feels soft or gives way might be compromised due to water damage or other underlying issues. A solid wall, on the other hand, typically indicates good condition.
Check for Mold
Mold is a common problem in walls that have been exposed to moisture. If you notice a musty smell or visible mold growth, it’s a clear sign that there’s a moisture issue. Mold might not always be on the surface; sometimes, it grows behind the drywall, which might require removal to address the problem.
Listen for Sounds
Tap the wall lightly. A hollow sound might indicate areas where the drywall has detached from the studs, while a solid sound generally signifies secure attachment.
Once you’ve assessed the drywall, you’ll need to decide the extent of the removal. This typically falls under two primary scenarios: full wall removal or partial patching.
If the damage is extensive, or if there are multiple problem areas, it might be more practical to remove the entire wall. This is especially true in cases of significant water damage, large-scale mold growth, or when undertaking major renovations.
For minor damages, such as small holes, cracks, or isolated moisture spots, you may not need to remove the entire wall. Instead, you can cut out and replace just the damaged sections. This method is less invasive, quicker, and often more cost-effective.
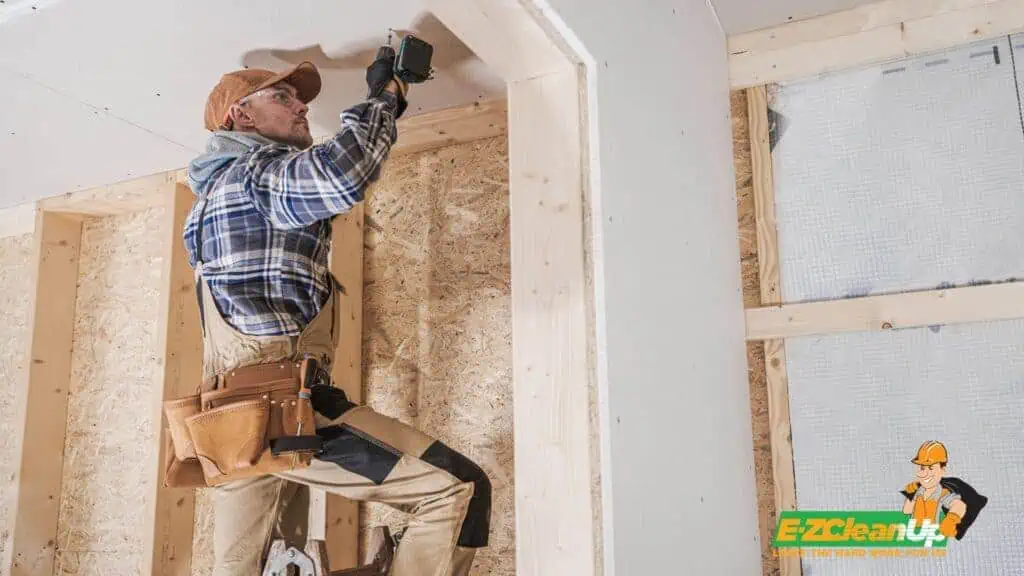
Step #2: Gathering Drywall Removal Tools
Before beginning, make sure you have the right drywall removal tools and materials at hand. When it comes to drywall removal, here are the tools you’ll need for a smooth and effective operation:
- Utility Knife. This is used to score the drywall. A sharp utility knife will help make precise cuts to avoid further damage to unaffected areas.
- Pry Bar. It allows you to get behind the drywall and pull it away from the studs.
- Hammer. Useful for removing nails or assisting the pry bar in the removal process.
- Screwdriver or Drill. If the drywall is secured with screws, you’ll need a screwdriver or a drill with a screwdriver bit to remove them.
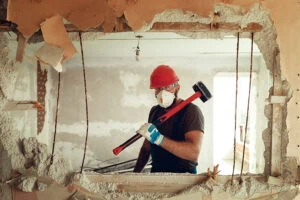
- Protective Gear. Wear safety goggles to protect your eyes from dust and debris and gloves to safeguard your hands from sharp edges. A dust mask is also recommended, especially if you suspect the presence of mold.
- Drop Cloths or Plastic Sheeting. These are essential for protecting your floors and furniture from dust and debris. It also makes cleanup much easier.
- Ladder or Step Stool. For reaching higher areas on the wall, ensure that they are stable and safe to use.
Most of the tools listed above can be found at local hardware stores or home improvement centers. For those who might not have these tools on hand or don’t anticipate frequent use, many stores offer rental options, which can be more cost-effective for one-time projects.
Step #3: Preparing the Work Area
Initiating a drywall removal project without adequate preparation can lead to unnecessary hassles, potential damages, and increased clean-up time post-completion. Here’s what you need to know:
Clearing the Space
Removing drywall can release a significant amount of dust and debris. By clearing out furniture and other movable items, you eliminate tripping hazards and make it easier to navigate the workspace.
Protecting Valuables
Even if you could theoretically work around certain pieces of furniture, the dust from drywall can be incredibly fine and pervasive. It can get into fabric, electronics, and other sensitive items.
Protecting Adjacent Surfaces
Drywall removal isn’t an isolated task. It can impact adjacent walls, floors, or ceilings. Using drop cloths or plastic sheeting to cover these surfaces ensures they remain unscathed. This protection also aids in the cleanup process, as accumulated dust and debris can simply be bundled up and disposed of.
Step #4: Removing Drywall
Properly following the steps ensures minimal damage to underlying structures and a smoother preparation for any subsequent tasks, be it new drywall installation or a different form of wall treatment. So, how do you do it? Here are the steps:
Removing Baseboards and Trim
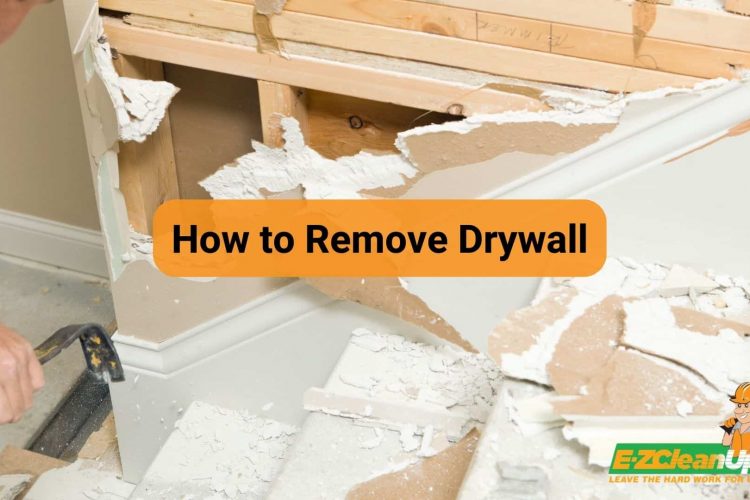
Start at one end of the trim or baseboard, gently inserting a pry bar between it and the wall. Apply slight pressure to carefully pry the baseboard or trim away from the wall. Use a piece of thin wood or cardboard behind the pry bar to prevent damaging adjacent surfaces.
Move along the length of the trim, and repeat the prying action every few inches. Once the trim or baseboard is detached, remove any nails left behind in the wall or the trim using pliers or the back of your hammer.
Cutting and Scoring the Drywall
Begin by determining the area of the drywall you wish to remove. Using your utility knife, score a line around the perimeter of the section you plan to remove. If you’re removing the entire sheet, score around its edges. Ensure the scoring is deep enough to break through the paper layer but not so deep as to cut into any utilities or studs behind the drywall.
Removing Screws or Nails
Using a flashlight or work light, identify the heads of screws or nails on the drywall’s surface. These will often appear as small dimples or circles painted over. For screws, use a screwdriver or drill to reverse and remove them. For nails, use the claw end of your hammer or a pair of pliers to pull them out gently. Ensure you don’t create larger holes or gouges in the process.
Demolishing and Disposing of the Drywall
Start at the edge of the scored area and use your pry bar to gently break the drywall away. It should break along the scored lines. Continue to remove the drywall piece by piece. Work methodically across the scored section. As you remove pieces of drywall, stack them neatly to make disposal more manageable.
Once you’ve removed all drywall, clean up any remaining demolition debris, paper, or small pieces from the workspace. Dispose of the drywall as per local regulations. Some regions may require drywall to be recycled or disposed of in specific ways, so it’s essential to check local guidelines. If in doubt, contact local waste management services for guidance.
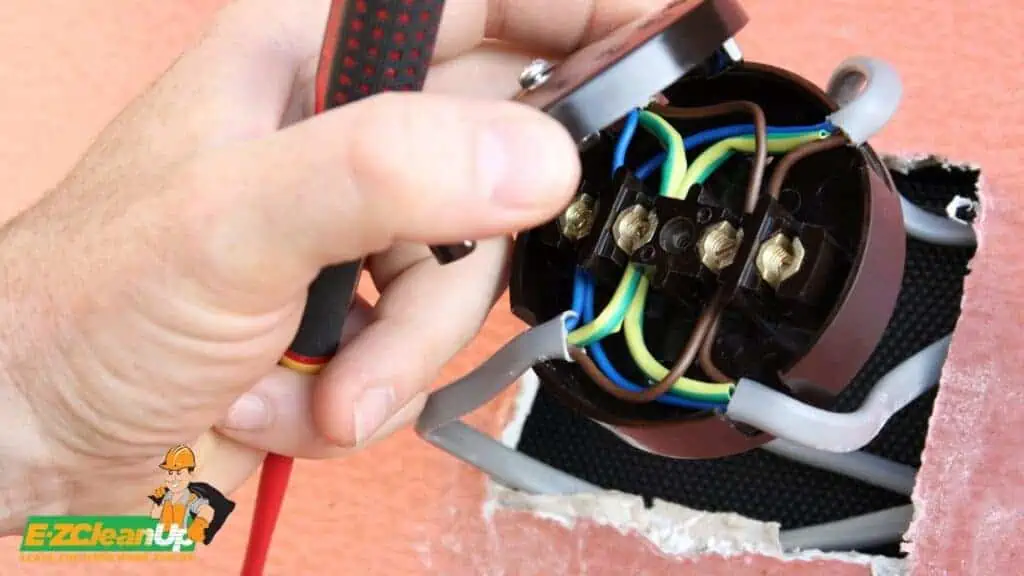
Step #5: Dealing with Electrical and Plumbing
Behind the surface of our walls lies a complex network of electrical wires and plumbing lines. As essential as they are, they can pose significant challenges when doing renovations or interior demolition, especially during drywall removal. The intersection of construction and these utilities demands caution, understanding, and sometimes the intervention of professionals.
Here are the ways to safely handle electrical wires and plumbing fixtures:
Electrical Wires
Before starting any drywall removal, ensure the electricity to the area is switched off from the main circuit breaker. Use a voltage tester to double-check that there’s no electricity flowing through the outlets or switches in the area where you’re working. When scoring or cutting drywall, be gentle and precise to prevent nicking any wires hidden behind.
If you encounter any exposed or loose wires, do not touch them with bare hands, even if the power is off. Use insulated tools or gloves if you must move them. If your renovation requires you to move or extend electrical wires, it’s usually best to call in a professional unless you’re well-versed in electrical work.
Plumbing Fixtures
If you’re working in an area where you suspect water pipes (like bathrooms or kitchens), shut off the main water supply as a precautionary measure. Be extra cautious if you see any pipes while removing drywall. Avoid using excessive force, which could accidentally puncture or damage the pipes. If pipes need to be moved, capped, or altered in any way, and you’re not familiar with plumbing, it’s best to consult a plumber.
When to Call the Pros
If the renovation requires adding new outlets, switches, or extensive rewiring, it’s a task best left to licensed electricians. They have the expertise to ensure everything is done safely and up to code. Moreover, if you’re planning to relocate plumbing fixtures or if you encounter a plumbing issue like a leak behind the wall, it’s wise to involve a professional plumber.
In many localities, certain electrical and plumbing work requires permits and must meet specific building codes. Professionals will be familiar with these regulations and can ensure the work is compliant. If at any point you feel unsure about the safety of a task, whether it’s dealing with an unknown wire or a mysterious pipe, it’s always safer to consult with a professional rather than risk potential harm or property damage.
Step #6: Repairing and Patching
After removing drywall, it’s not uncommon to discover hidden issues or damage that need to be addressed. Whether it’s a minor imperfection or a more significant structural concern, proper repair and patching are crucial to ensure the longevity and safety of the wall.
Repairing Structural Elements
- Studs
Over time, wall studs can suffer from rot or physical damage. If a stud is compromised, it should be reinforced or replaced. To reinforce, attach a “sister” stud (a new piece of lumber) alongside the damaged one using screws or nails. If you discover a stud that’s not flush or aligned with others, you can plane down its high spots with a hand planer or add shims to level it out.
- Insulation
Old or damaged insulation can affect your home’s energy efficiency and comfort. Check for any signs of moisture, mold, or physical damage. If you find compromised insulation, remove it and replace it with new material. Ensure you’re using the correct type and R-value (thermal resistance) for your specific location and needs. For any small gaps or crevices, you can use expanding foam insulation. This will help prevent drafts and improve energy efficiency.
Properly Patching Drywall for a Seamless Finish
- Measure and Cut
Measure the area you want to patch, then cut a piece of new drywall to fit the size. It’s always a good idea to cut the patch slightly larger than the hole, then trim the hole to fit the patch for a snug fit.
- Secure the Patch
Place a wood backing, such as a small plank or plywood piece, inside the hole. This will serve as a support for the patch. Secure the wood backing to the existing drywall using screws. Then, attach your drywall patch to this backing.
- Apply Joint Compound
Use a putty knife to apply joint compound (also known as mud) over the patch. Spread the compound smoothly. Feather the edges to blend with the surrounding wall.
- Sand Smooth
Once the joint compound is dry (typically 24 hours), sand the area until it’s smooth and even with the rest of the wall.
- Repeat if Necessary
For larger holes or areas that need a smoother finish, you might need to apply multiple layers of joint compound. Sand between each layer.
- Paint
Once you’re satisfied with the smoothness, prime the patched area before painting. This will ensure an even paint application and color match with the rest of the wall.
Step #7: Eco-Conscious Methods for Drywall Disposal
When it comes to home renovation tasks, like drywall removal, adopting eco-friendly methods can significantly reduce our carbon footprint and contribute positively to the environment. Here are your options for responsible disposal of drywall:
Drywall Recycling
Drywall, mainly composed of gypsum, can be recycled to produce new sheets of drywall or used as a soil amendment in agriculture. Before you start your drywall removal project, research local recycling centers that accept drywall. Depending on your locality, there might be specific requirements or preparation steps, like removing nails, screws, or other contaminants.
If you’re handling the transportation, consider renting a reusable construction dumpster specifically meant for recyclable materials. It ensures that the drywall remains uncontaminated.
Responsible Disposal
How to dispose of drywall? Some localities have restrictions on disposing of drywall in regular landfills due to its high sulfur content, which can lead to harmful hydrogen sulfide gas when it breaks down. Always check local regulations before disposal.
Older drywalls, especially those installed before the 1980s, may contain asbestos. If you suspect your drywall might contain asbestos or any other hazardous material, consult a professional before removal. They’ll guide you on safe removal and disposal methods.
Leaving Drywall Disposal to the Pros
Whether you’re addressing damages, making renovations, or just aiming for a fresh start, every step involved in removing drywall has its challenges and rewards. Furthermore, the emphasis on eco-friendly practices underscores the importance of responsible disposal and recycling.
As you conclude your drywall removal project, you must prepare for the task of clearing waste and disposing of junk. For residents and businesses in Philadelphia, you can leave it to the expert hands of EZ CleanUp.
Aside from a team of demolition contractors, we have the equipment to haul away your drywall and other construction debris from the work site. With a licensed and insured team, we at EZ CleanUp guarantee professional and responsible service tailored to your needs.
Ready to make your cleanup process as smooth as your newly revealed walls? Reach out to EZ CleanUp today and take advantage of our free on-site estimate.

