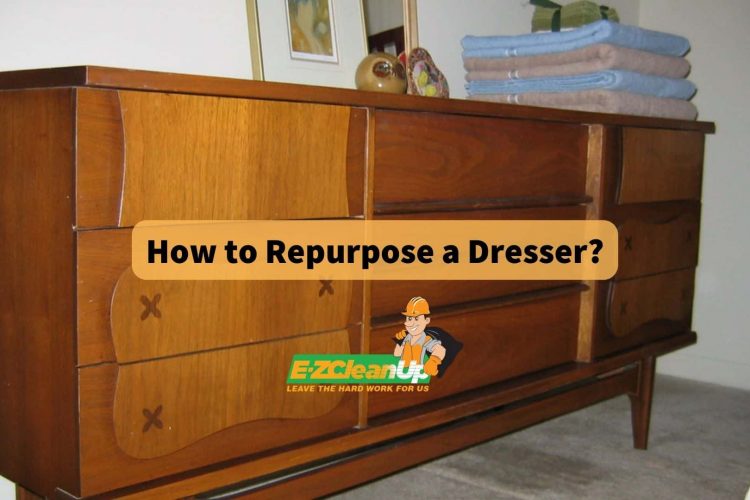
To repurpose a dresser, you can turn it into a bookshelf by removing drawers, a bathroom vanity with plumbing adjustments, or a kitchen island with added storage. You can also use it as a TV stand for electronics, a garden planter with proper weatherproofing, a bench using upholstery, or a tool shelf for organization.
If you’re interested in how to repurpose a dresser creatively, read on for detailed steps and tips.
#1 Creative Repurposing Ideas
Repurposing a dresser not only breathes new life into old furniture but also offers numerous benefits. It’s an eco-friendly way to reduce waste, save money, and add a personal touch to your home. By repurposing, you can unleash your creativity and transform a simple dresser into a unique and functional piece that suits your style and needs.
Here are some creative repurposing ideas to get you started:
1. Turn It Into a Bookshelf
Repurposing a dresser into a bookshelf is a simple way to add storage and style. Start by removing the drawers to create open shelves. You might need to adjust or remove internal supports to fit your books.
Next, sand the dresser’s surface for a smooth finish, then apply a primer. Choose a paint color that fits your decor and apply several coats. For the final touch, consider adding new hardware or decorative accents. This easy project turns an old dresser into a practical and stylish bookshelf.
2. Convert It to a Bathroom Vanity
Transforming a dresser into a bathroom vanity can be a stylish and functional upgrade for your bathroom. Start by carefully cutting holes in the top of the dresser to fit your sink and plumbing fixtures. Measure and mark the spots where the sink and faucet will go, then use a jigsaw to cut the holes.
Next, ensure the dresser can handle bathroom conditions by waterproofing it. Apply a sealant or water-resistant paint to protect the wood from moisture. You may also need to add a waterproof liner inside the drawers to keep them safe from splashes.
3. Use It as a Kitchen Island
Repurposing a dresser into a kitchen island can add both style and functionality to your kitchen. Start by securing a new countertop on top of the dresser. Measure and cut a countertop material, such as wood, granite, or laminate, to fit the dresser’s dimensions. Attach the countertop using strong adhesive or screws for stability.
Next, enhance the dresser’s storage capabilities by adding shelves or baskets inside the open space where the drawers once were. You might also want to add a coat of durable paint or varnish to the dresser to match your kitchen decor.
4. Make a TV Stand or Media Console
Converting a dresser into a TV stand or media console is a great way to repurpose furniture while adding a stylish touch to your living room. Start by reinforcing the dresser’s structure to support your TV and other electronics. You might need to add extra supports or brackets inside to ensure it can handle the weight.
Next, manage cables and cords neatly. Drill small holes in the back of the dresser for cables to pass through, and use cable organizers or clips to keep everything tidy. You can also paint or decorate the dresser to match your living room decor.
5. Create a Garden Planter
You can start by weatherproofing the dresser to protect it from rain and sunlight. Apply a coat of outdoor paint or sealant to the wood, ensuring it’s fully covered.
Next, prepare the dresser for planting. Drill drainage holes in the bottom of each drawer or compartment to prevent water from collecting and causing root rot. Add a layer of gravel or small rocks at the bottom for additional drainage. Then, fill the drawers with soil and arrange your favorite plants.
6. Repurpose It As a Bench
Using an old dresser as a bench is a fun and functional project that adds seating and style to any room. Start by removing the drawers and reinforcing the dresser’s structure to ensure it can support weight. Next, attach a sturdy piece of plywood or a pre-made bench top to the dresser’s frame to serve as the seating area.
For added comfort and style, upholster the bench seat. Choose a fabric that complements your decor and is durable enough for frequent use. Cut the fabric to size, staple it over a layer of cushioning or foam on the plywood, and secure it in place.
This upholstered bench is perfect for a kid’s room, entryway, or any space where extra seating is needed. With its cushioned top and colorful fabric, it will be both practical and attractive.
7. Make a Tool Shelf
You can also create a tool shelf to organize your garage or workshop. Start by removing the drawers to create open compartments for tools. Reinforce the dresser’s structure with additional supports if needed to ensure it can handle the weight.
If the dresser has a back panel, consider removing it or cutting holes for easier access and ventilation. Paint or seal the dresser to protect it from dust. Add dividers or bins inside to keep smaller tools organized.
#2 Additional Tips When Repurposing Dressers
When repurposing dressers, consider these additional tips to ensure a successful project:
- Measure Carefully – Double-check dimensions before cutting or assembling to ensure a proper fit.
- Use Quality Paint – Choose durable, high-quality paint for a longer-lasting finish.
- Reinforce Weak Spots – Strengthen any areas that may not be sturdy enough to support weight.
- Add Protective Coatings – Apply sealants or varnishes to protect against moisture and wear.
- Customize Hardware – Update knobs and handles for a fresh, personalized look.
#3 FAQs
Can I repurpose a dresser with drawers that don’t slide smoothly?
Yes, but first, fix the drawer mechanisms or remove them if they’re not needed for your project. Smoothly operating drawers will improve functionality.
How do I handle a dresser with a damaged finish?
Sand down the damaged finish and apply a primer before painting or staining. This ensures a smooth and even new surface.
What tools are essential for repurposing a dresser?
Essential tools include a screwdriver, saw, drill, sandpaper, paintbrushes, and possibly wood glue or brackets for reinforcement
#4 The Bottom Line – Making the Most of Your Repurposed Dresser
Repurposing a dresser is a fantastic way to give old furniture a new lease on life, transforming it into everything from a stylish bookshelf to a handy tool shelf. These creative projects add both charm and functionality to your home.
If you find yourself with a large dresser that’s beyond repurposing or just need to clear out space, EZ CleanUp is here to help. We specialize in removing large furniture like dressers, making disposal easy and hassle-free. Explore our services to find out how we can assist with your furniture removal needs, so you can focus on your next project.


