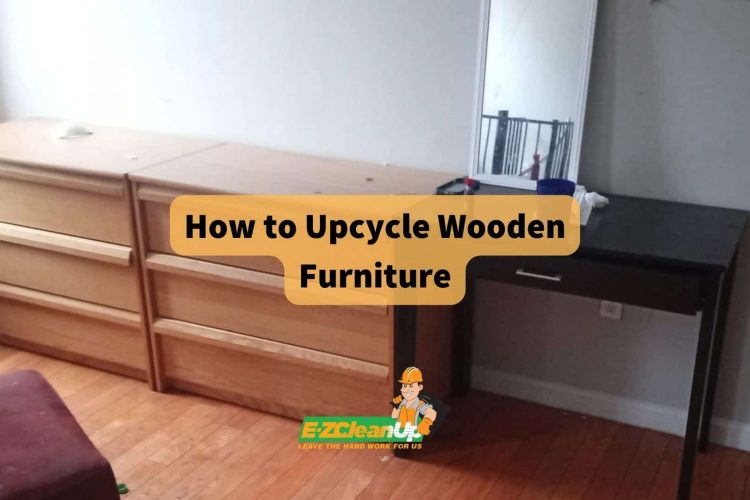
To upcycle wooden furniture, start by removing handles and sanding the piece. Clean it thoroughly, then take off drawers and doors. Choose a color, apply paint, and finish with a protective seal. This process revitalizes old furniture, giving it a fresh, new look.
Continue reading to discover how to effectively upcycle wooden furniture, transforming old pieces into fresh, personalized additions to your home decor.
#1 Choosing the Right Furniture for Upcycling
When choosing wooden furniture for upcycling, focus on pieces with solid construction and simple designs. Chairs, tables, and cabinets are ideal candidates due to their versatile shapes and functionality.
Look for structurally sound furniture, with minimal damage to joints and surfaces. Pay attention to the wood’s condition—pieces with deep scratches, significant wear, or water damage might require more extensive repairs.
Ensure that any loose parts are easily fixable, and avoid items with excessive rot or missing components. By selecting furniture in good condition, you can streamline the upcycling process and achieve a polished, professional finish.
#2 Step-by-Step Upcycling Process
Upcycling wooden furniture is a gratifying project that revitalizes old pieces. Follow this step-by-step guide to transform outdated furniture into stylish, new additions for your home, ensuring a smooth and successful makeover.
1. Detach All Handles
Start by removing any handles, knobs, or hardware from the furniture. This ensures that paint and finishes are applied evenly without obstruction, and prevents these parts from getting damaged during the upcycling process.
2. Sand the Surface
Thoroughly sand the entire surface of the furniture to remove old finishes and smooth out imperfections. Use a medium-grit sandpaper to start, followed by a finer grit for a smoother finish. This step is crucial for helping new paint or stain adhere properly.
3. Clean the Furniture
After sanding, wipe down the furniture with a clean, damp cloth to remove all dust and debris. A thorough cleaning is essential to ensure a clean surface for painting, which helps achieve a flawless, professional-looking finish.
4. Remove Drawers and Doors
Take out any drawers and doors from the furniture to simplify the painting process. Removing these components allows you to reach all surfaces more easily and ensures an even coat of paint, especially in areas that are typically hard to access.
5. Select a Color
Choose a paint color or finish that fits your style and the intended use of the furniture. Consider how the new color will complement your existing décor and whether you want a glossy or matte finish. Test samples if necessary to make sure you’re happy with your choice before committing.
6. Apply Paint
Begin painting the furniture with your selected color, using smooth, even strokes. Apply multiple thin coats if needed, allowing each coat to dry fully before applying the next. This helps to avoid drips and ensures a consistent, polished look.
7. Add a Finish
Once the paint is completely dry, apply a protective finish such as a clear sealer or polyurethane. This step enhances durability and helps protect the furniture from wear and tear. Apply the finish in thin, even layers, and follow the manufacturer’s instructions for drying times and application methods.
#3 Tools and Materials Needed
To successfully upcycle wooden furniture, having the right tools and materials is essential. Here’s a comprehensive list to guide you through the process:
Basic Tools:
- Sandpaper – Essential for smoothing surfaces and preparing the wood for painting or staining. Use a range of grits from medium to fine for the best results.
- Paintbrushes and Rollers – Invest in high-quality brushes and rollers to ensure a smooth and even application of paint. Different sizes and types are useful for detailed work and larger surfaces.
- Screws and Screwdrivers – Useful for disassembling furniture and reassembling it after upcycling. Having a set of various sizes will help handle different types of hardware.
Materials:
- Paint – Choose a type of paint suited for wood, such as acrylic or latex. Select colors that fit your design vision and consider finishes like matte or gloss.
- Stains – If you prefer a natural wood look, stains can enhance the wood’s grain while adding a touch of color.
- Sealants and Finishes – Apply a clear sealant or polyurethane to protect your work from wear and tear. This step helps preserve the finish and extends the life of the furniture.
- Upholstery Materials – For projects involving fabric, like re-covering cushions or seats, gather upholstery materials such as fabric, foam padding, and staple guns.
Safety Gear:
- Gloves – Protect your hands from splinters, chemicals, and sharp edges during sanding and painting.
- Masks – Wear masks to avoid inhaling dust and fumes, especially when sanding or using spray paint.
- Goggles – Use safety goggles to shield your eyes from dust and debris while sanding or working with tools.
#4 Creative Upcycling Ideas
Upcycling offers endless creative possibilities for turning old wooden furniture into unique and functional pieces.
For instance, an old dresser can be transformed into a chic bar cart, adding both style and practicality to your entertaining space.
A wooden chair can be repurposed into a charming plant stand, giving your greenery a stylish home.
Additionally, a wooden crate can be converted into a fashionable coffee table, perfect for adding a rustic touch to your living area.
#5 Maintenance Tips
Proper maintenance is key to keeping your upcycled furniture looking fresh and vibrant. Here are some essential tips:
- Cleaning – Regularly dust your upcycled furniture with a soft cloth to prevent buildup. For deeper cleaning, use a mild soap solution and a damp cloth, avoiding harsh chemicals that could damage the finish.
- Preservation – Protect the finish by avoiding direct sunlight and excessive moisture, which can cause fading and warping. Use coasters and placemats to prevent scratches and spills. Reapply a protective sealant or polish as needed to maintain the furniture’s appearance and durability.
#6 FAQs
Can I upcycle furniture with significant damage?
Yes, you can upcycle furniture with damage, but it may require additional repairs. Fix any structural issues or deep scratches before proceeding with painting and finishing.
How do I choose the right type of paint for wooden furniture?
Opt for paints specifically designed for wood, such as acrylic or latex paints. They offer good adhesion and durability. Consider using a primer if the wood is unfinished or has stains.
How long should I wait between paint coats?
Allow each coat of paint to dry completely before applying the next. Drying times can vary based on the paint type and environmental conditions, but generally, waiting 2-4 hours between coats is recommended.
Can I use a spray finish instead of a brush-on sealant?
Yes, spray finishes can be a convenient alternative to brush-on sealants. They provide an even coat and can be easier to apply on intricate surfaces, but ensure proper ventilation and follow application instructions for best results.
#7 The Bottom Line – Embrace the Art of Upcycling
Upcycling wooden furniture is a rewarding way to refresh old pieces and add a unique touch to your decor. With the right approach, you can transform outdated furniture into stunning new items.
If you find yourself with a large amount of wooden furniture that you can’t salvage or repurpose, EZ CleanUp is here to help. Contact us for efficient junk removal, and make room for your next upcycling project!


