You can repurpose old things in many ways. These can range from turning old suitcases into cozy pet beds, transforming ladders into stylish bookshelves, to converting wine bottles into chic lamp bases. These projects help reduce waste, save money, and spark creativity.
You’ll find out how to make these 36 amazing repurposing ideas, which can enhance your home decor, in our article below.
#1: Turn an Old Suitcase into a Pet Bed
Start by selecting a sturdy suitcase that matches the size of your pet. Remove any fragile parts and clean the suitcase thoroughly. For padding, use a soft cushion or foam that fits snugly inside. Cover the cushion with a washable fabric that complements your decor.

#2: Repurpose Old Drawers as Creative Shelves
Paint or varnish the drawers to suit your decor. Securely attach hardware for hanging. Mount these drawers on your wall in an appealing arrangement. These shelves are perfect for storing books, showcasing plants, or organizing accessories.
#3: Transform a Ladder into a Bookshelf
Stabilize the ladder by securing the joints and ensuring it is level. Paint or varnish the ladder to match your room’s aesthetic. Position it against a wall and use the rungs to hold books, framed photos, and other decor items. Adding small wooden planks across the rungs can provide additional shelf space.
#4: Old Window Frame as a Photo Collage
Clean the window frame and repair any damaged areas. If the glass is intact, arrange your photos behind it. Secure them with small clips or double-sided tape. If the glass is missing, replace it or use the frame as it is. Attach photos directly to the back.
#5: Teacup Planters for Small Spaces
Choose small plants that thrive in limited soil, such as succulents or herbs. Ensure each teacup has a drainage hole by carefully drilling one at the bottom. Plant your chosen flora using a suitable potting mix, and place the teacups in well-lit areas.

#6: Mason Jar Bathroom Organizers
Paint or decorate the jars to match your bathroom theme. Attach the jar lids to a wooden board using strong glue or screws. Once secured, screw the jars onto their lids mounted on the board. Mount the entire setup on a bathroom wall.
#7: Tire Ottoman with Rope Wrapping
Clean the tire and apply a strong adhesive to its surface. Wrap the entire tire tightly with sisal or jute rope. Once covered, fit a circular piece of wood or sturdy fabric on top of the tire for a flat surface. Add a cushion for comfort.
#8: Wine Bottle Lamp Base
Start by cleaning the bottle and removing any labels. Carefully drill a hole near the base for the electrical cord. Thread the cord through and attach a lamp kit, following the manufacturer’s instructions to ensure safety. Choose a lampshade that complements the bottle’s color and design.
#9: Repurposed Bookcase into a Kitchen Island
Reinforce the bookcase structure to support extra weight. Add a countertop material, like butcher block or stainless steel, to the top surface. Install wheels for the mobility of your kitchen island and lock them in place as needed.
#10: Upcycled Clothing Rack from Piping
Assemble pipes into a frame and secure all connections with pipe fittings. You can choose to paint the pipes or leave them in their raw metallic look for an industrial vibe. Ensure the base is stable to support the weight of hanging clothes.
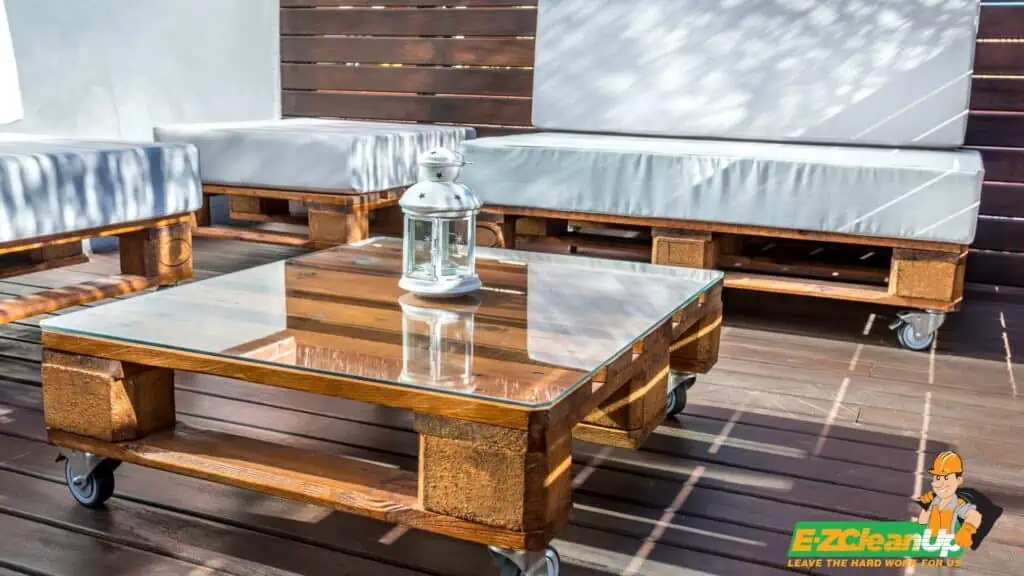
#11: Wooden Pallet Coffee Table
Treat the wooden pallets with a wood cleaner and sand them down to prevent splinters. Seal the wood with a suitable finish to enhance durability and appearance. Attach wheels to the bottom for easy movement or add static legs for stability.
#12: Skateboard Shelves for a Kid’s Room
Choose a few old skateboards; clean and paint them if necessary. Attach sturdy brackets to the wall, ensuring they align with the skateboard’s mounting holes for easy installation. Once mounted, these shelves can hold books, toys, or decorative items.
#13: Painted Tire Swings for Outdoor Fun
Choose eco-friendly, weather-resistant paint for colorful designs. To install, securely attach a durable rope or chain through the tire and tie it to a sturdy tree branch or a swing set frame. Ensure the installation is strong enough to handle the weight and movement.
#14: Repurposed Cabinet Doors into Art Desk
Start by sanding down the doors to smooth out any imperfections. Attach legs at each corner—consider adjustable ones for varying heights. Apply a fresh coat of paint or varnish to fit your artistic style. Equip the desk with holders for art supplies and a protective layer on the workspace.
#15: Upcycle a Guitar into a Shelf
Remove the front face of the guitar carefully to create a cavity. Install small shelves inside the cavity using thin wooden boards. Mount the guitar on the wall securely, ensuring it’s at a level where items can be displayed easily.
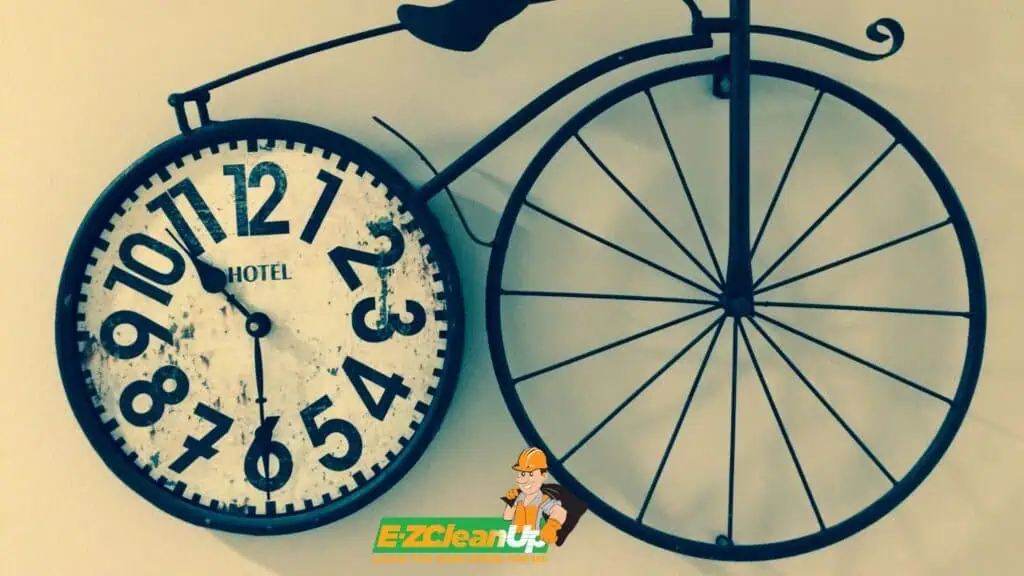
#16: Bicycle Rim as a Wall Clock
Secure a clock mechanism at the center of the rim. Customize the clock face by painting numbers directly on the rim or attaching small markers. Hang the clock on a prominent wall to make a functional statement piece.
#17: Old Dresser to Kitchen Cabinet Conversion
Strip any old paint or finish and sand the surface for smoothness. Apply a new coat of paint or stain to match your kitchen’s theme. Update the hardware with modern handles or knobs. Utilize the drawers for storing utensils or cookware.
#18: Suitcase Side Table
Choose a suitcase that fits the height and style you desire. Attach legs—either sourced from another piece of furniture or bought new. Secure the legs firmly to ensure stability. The suitcase can be used closed or opened, with the interior serving as additional storage.
#19: Oil Drum Seats
Clean and paint the drum for a fresh look. Cut the top off and smooth the edges for safety. Add a circular wooden board inside as a base. Top it with a thick foam cushion and cover it with weather-resistant fabric for outdoor use.
#20: Upcycled Window Shutter Mail Organizer
Sand and paint the shutter to fit your home’s decor. Attach small hooks or baskets to the slats for holding mail and keys. Mount the shutter near your entryway for easy access.
#21: CD Rack Herb Garden
Choose herbs that thrive in small spaces, such as basil, thyme, and parsley. Plant each herb in individual pots that fit the slots of the CD rack. Ensure there’s adequate drainage in each pot. Place the rack in a sunny spot, ideally near your kitchen for easy access while cooking.
#22: Convert an Old TV Cabinet into a Play Kitchen
Begin by removing any electronic components from your old TV and ensuring the cabinet is safe and free of sharp edges. Paint the cabinet with vibrant, non-toxic colors to stimulate creativity. Add knobs, a faucet, and a sink to mimic a real kitchen setup. You can also install shelves inside for pretend food and kitchenware storage.
#23: Cardboard Box Drawer Dividers
Measure the inside dimensions of your drawer to ensure a snug fit. Cut the cardboard into strips of desired height and length. Slot the pieces together to form compartments suitable for your storage needs.
#24: Jewelry Holder from Old Rake
Detach the handle and clean the rake head. Mount it to the wall with the tines facing outward. Hang necklaces, bracelets, and earrings from the tines to keep them untangled and accessible.
#25: Desk Organizer Using Bread Pans
Paint or decorate the pans to complement your office or study area. Attach the pans to a baseboard or directly to your desk. Use the compartments to store pens, notes, and other office essentials.
#26: Old Book as a Floating Shelf
Select a book thick enough to support small items. Attach brackets to the interior back cover and mount the book to the wall, with the spine outward. The concealed brackets create the illusion of the book floating.
#27: Repurpose a Bird Cage into a Candle Holder
Clean the cage and apply a fresh coat of paint if needed. Place candles inside, using various sizes for visual interest. Ensure candles are stable and use a heat-resistant base to catch wax drippings. Hang the cage from a ceiling hook or place it on a flat surface.
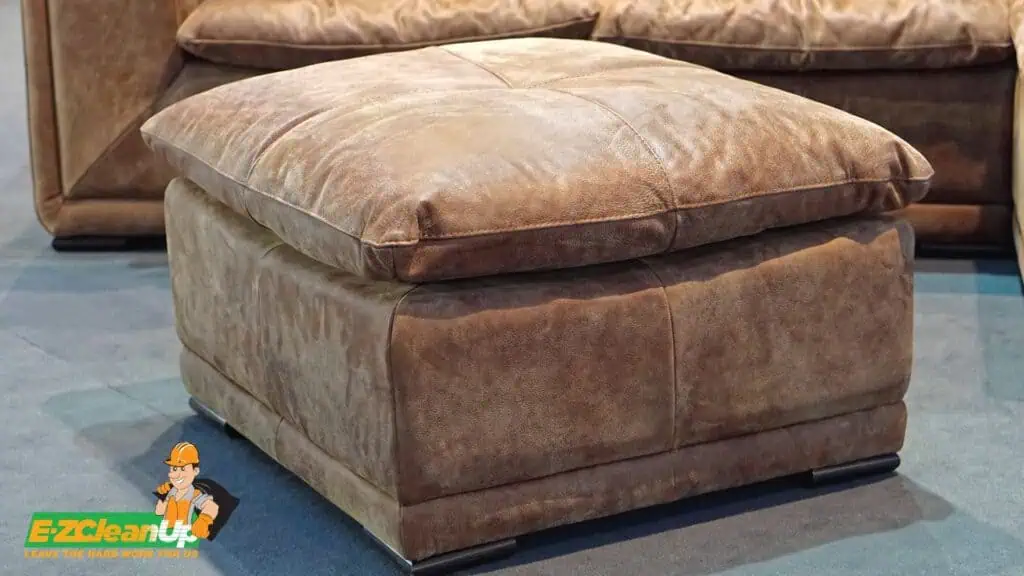
#28: Crate Footstool
Start by padding the top of an old crate with foam or thick fabric for comfort. Cover the padded area with a durable fabric that matches your decor. Secure it with a staple gun. You can also add legs for height or leave it as is for a rustic look.
#29: Piano Bar
Securely remove or stabilize any loose internal components of an old piano. Install shelves where the keys originally were, and use the space for storing glasses and drinks. Optionally, add lighting inside to highlight the bottles and glassware.
#30: Bathtub Sofa
Cut one side of the bathtub horizontally to create an open seating area. Smooth all rough edges for safety. Paint the exterior in a color that suits your style. Fit custom cushions within the tub to provide comfort and support.
#31: Suitcase Coffee Table
Reinforce the interior of a vintage suitcase with wooden panels to support weight. Attach legs at the corners—consider using hairpin legs for a modern touch. The suitcase can be opened to store magazines, remotes, or other small items.
#32: Washing Machine Drum Fire Pit
Clean the drum thoroughly and remove any plastic components. Place the drum of your old washer on a non-flammable surface, like concrete or stone tiles. Add a grill top if desired for cooking. Ensure the area around the fire pit is clear of any flammable materials.
#33: Crib to Desk Conversion
Remove the side panels of an old crib and adjust the mattress support to a comfortable height. Sand and paint the frame to refresh its look. Add a wooden or glass top to create a smooth working surface.
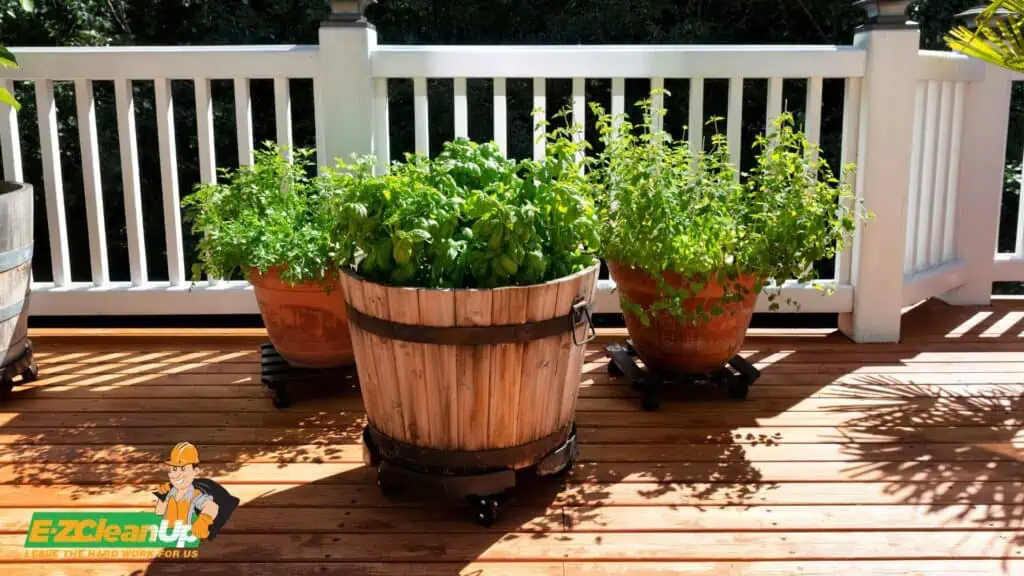
#34: Barrel Planter
Clean the barrel and apply a weather-resistant sealant to extend its life outdoors. Cut the barrel in half horizontally for a shallower planter or use it whole for deeper-rooted plants. Drill drainage holes at the bottom. Fill it with soil and plant flowers, herbs, or vegetables.
#35: Tennis Racket Mirror
Remove the strings of an old tennis racket and secure a custom-cut mirror into the frame. Decorate the handle and outer rim to match your decor style. Hang the mirror in a hallway or bedroom as a unique decorative piece.
#36: Jeans Organizer
Repurpose old jeans into a handy organizer. Cut off the legs and use the upper part with pockets. Attach hooks or a rod for hanging, and use the pockets to store tools, crafts, or stationery. Hang this organizer in a workshop, craft room, or office.
Turn Trash to Treasure!
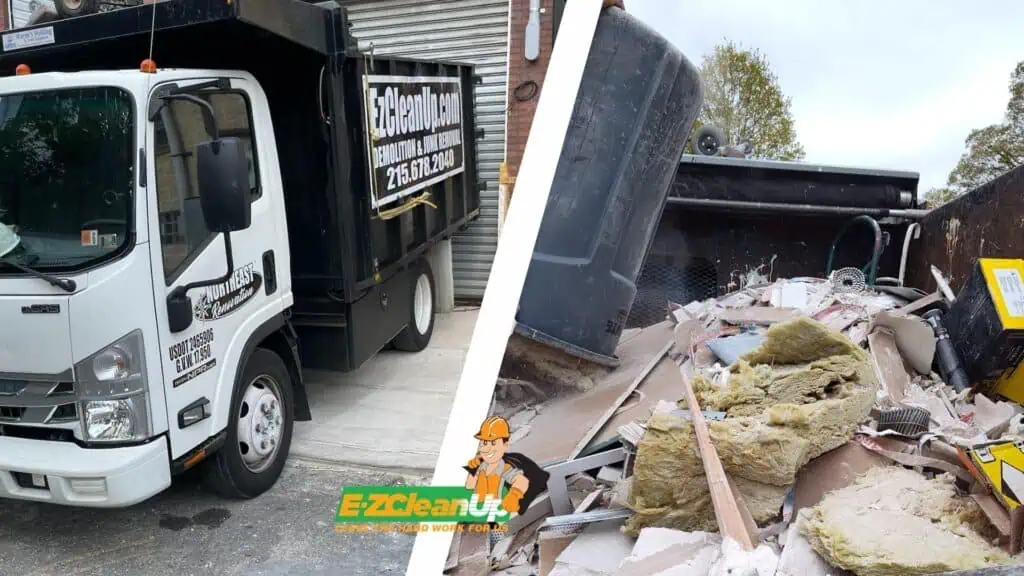
After completing your creative projects, let EZ CleanUp take care of the leftover materials and debris. From hauling away old materials to cleaning up your workspace, we ensure that your creative journey is smooth and clutter-free.
Call us to learn more about our comprehensive professional junk removal services in Philly and surrounding areas.


